Key features
- TON Connect integration: Enables secure communication between Tonkeeper and decentralized applications using the TON Connect protocol.
- Prepaid balance feature: Automatically covers transaction fees (gas) when your wallet doesn’t have enough Toncoin to process a transaction.
- W5 support: Implements the latest W5 wallet smart contract standard used across the TON blockchain.
- Built-in dApp browser: Provides a native browser for interacting with decentralized applications directly within Tonkeeper.
- Asset management: Supports digital assets like jettons and NFTs.
- Cross-platform architecture: Runs on mobile, desktop and web enviroment.
Supported platforms
- Mobile apps: iOS, Android
- Desktop apps: Windows, macOS, Linux
- Browser extensions: Chrome, Firefox, Brave, Yandex Edge
- Telegram: accessible via Telegram clients.
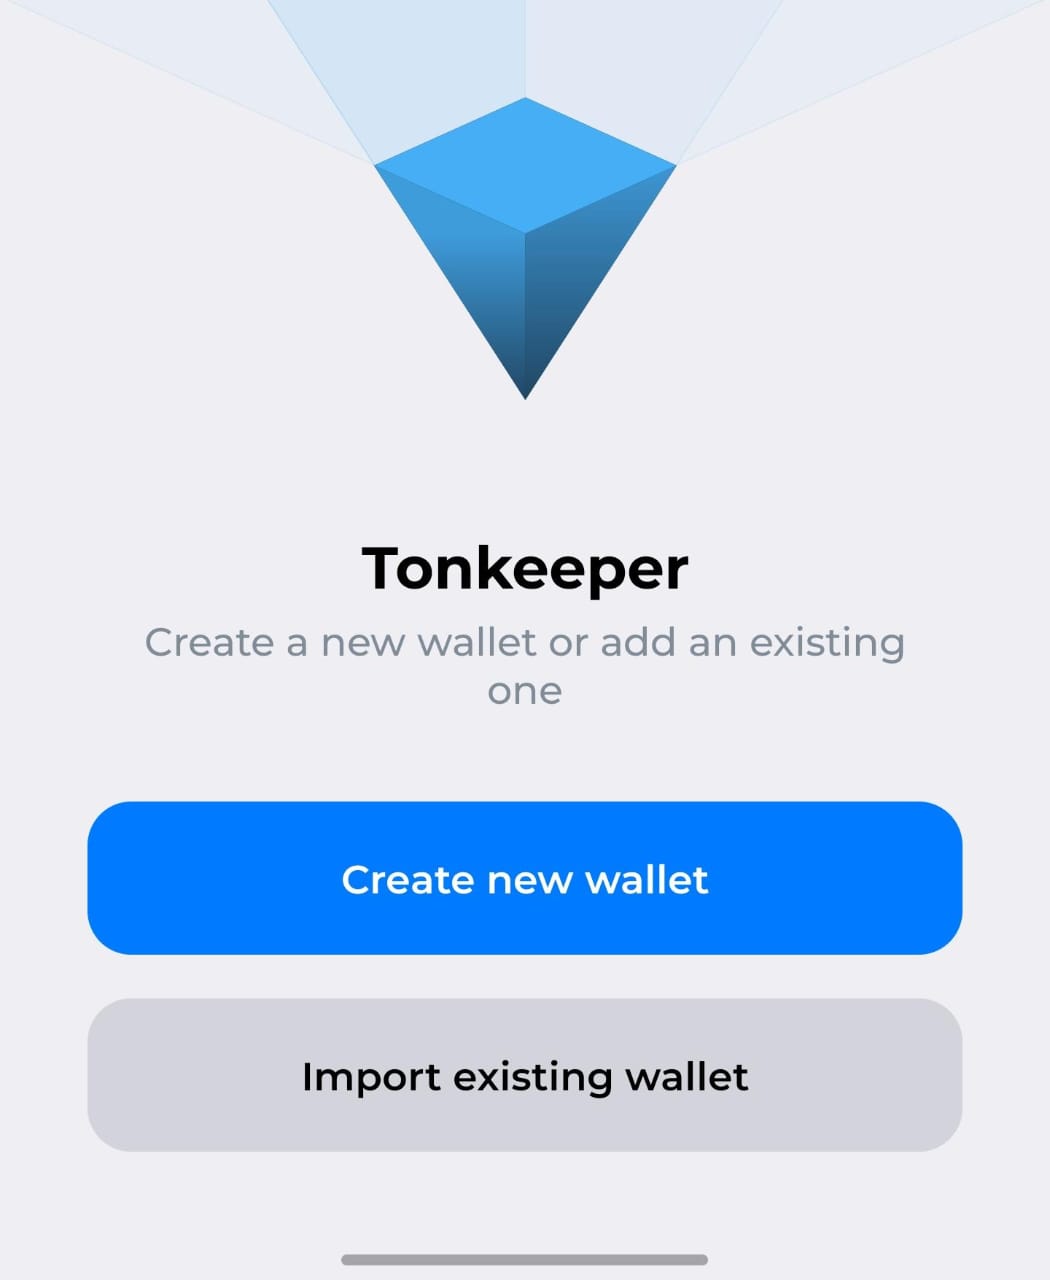
Create a wallet
You need to first install Tonkeeper using any of the methods above. For the steps below, we’ll use the mobile version as it’s convenient to set up. Once installed:- Open Tonkeeper.
- Click Create new wallet.
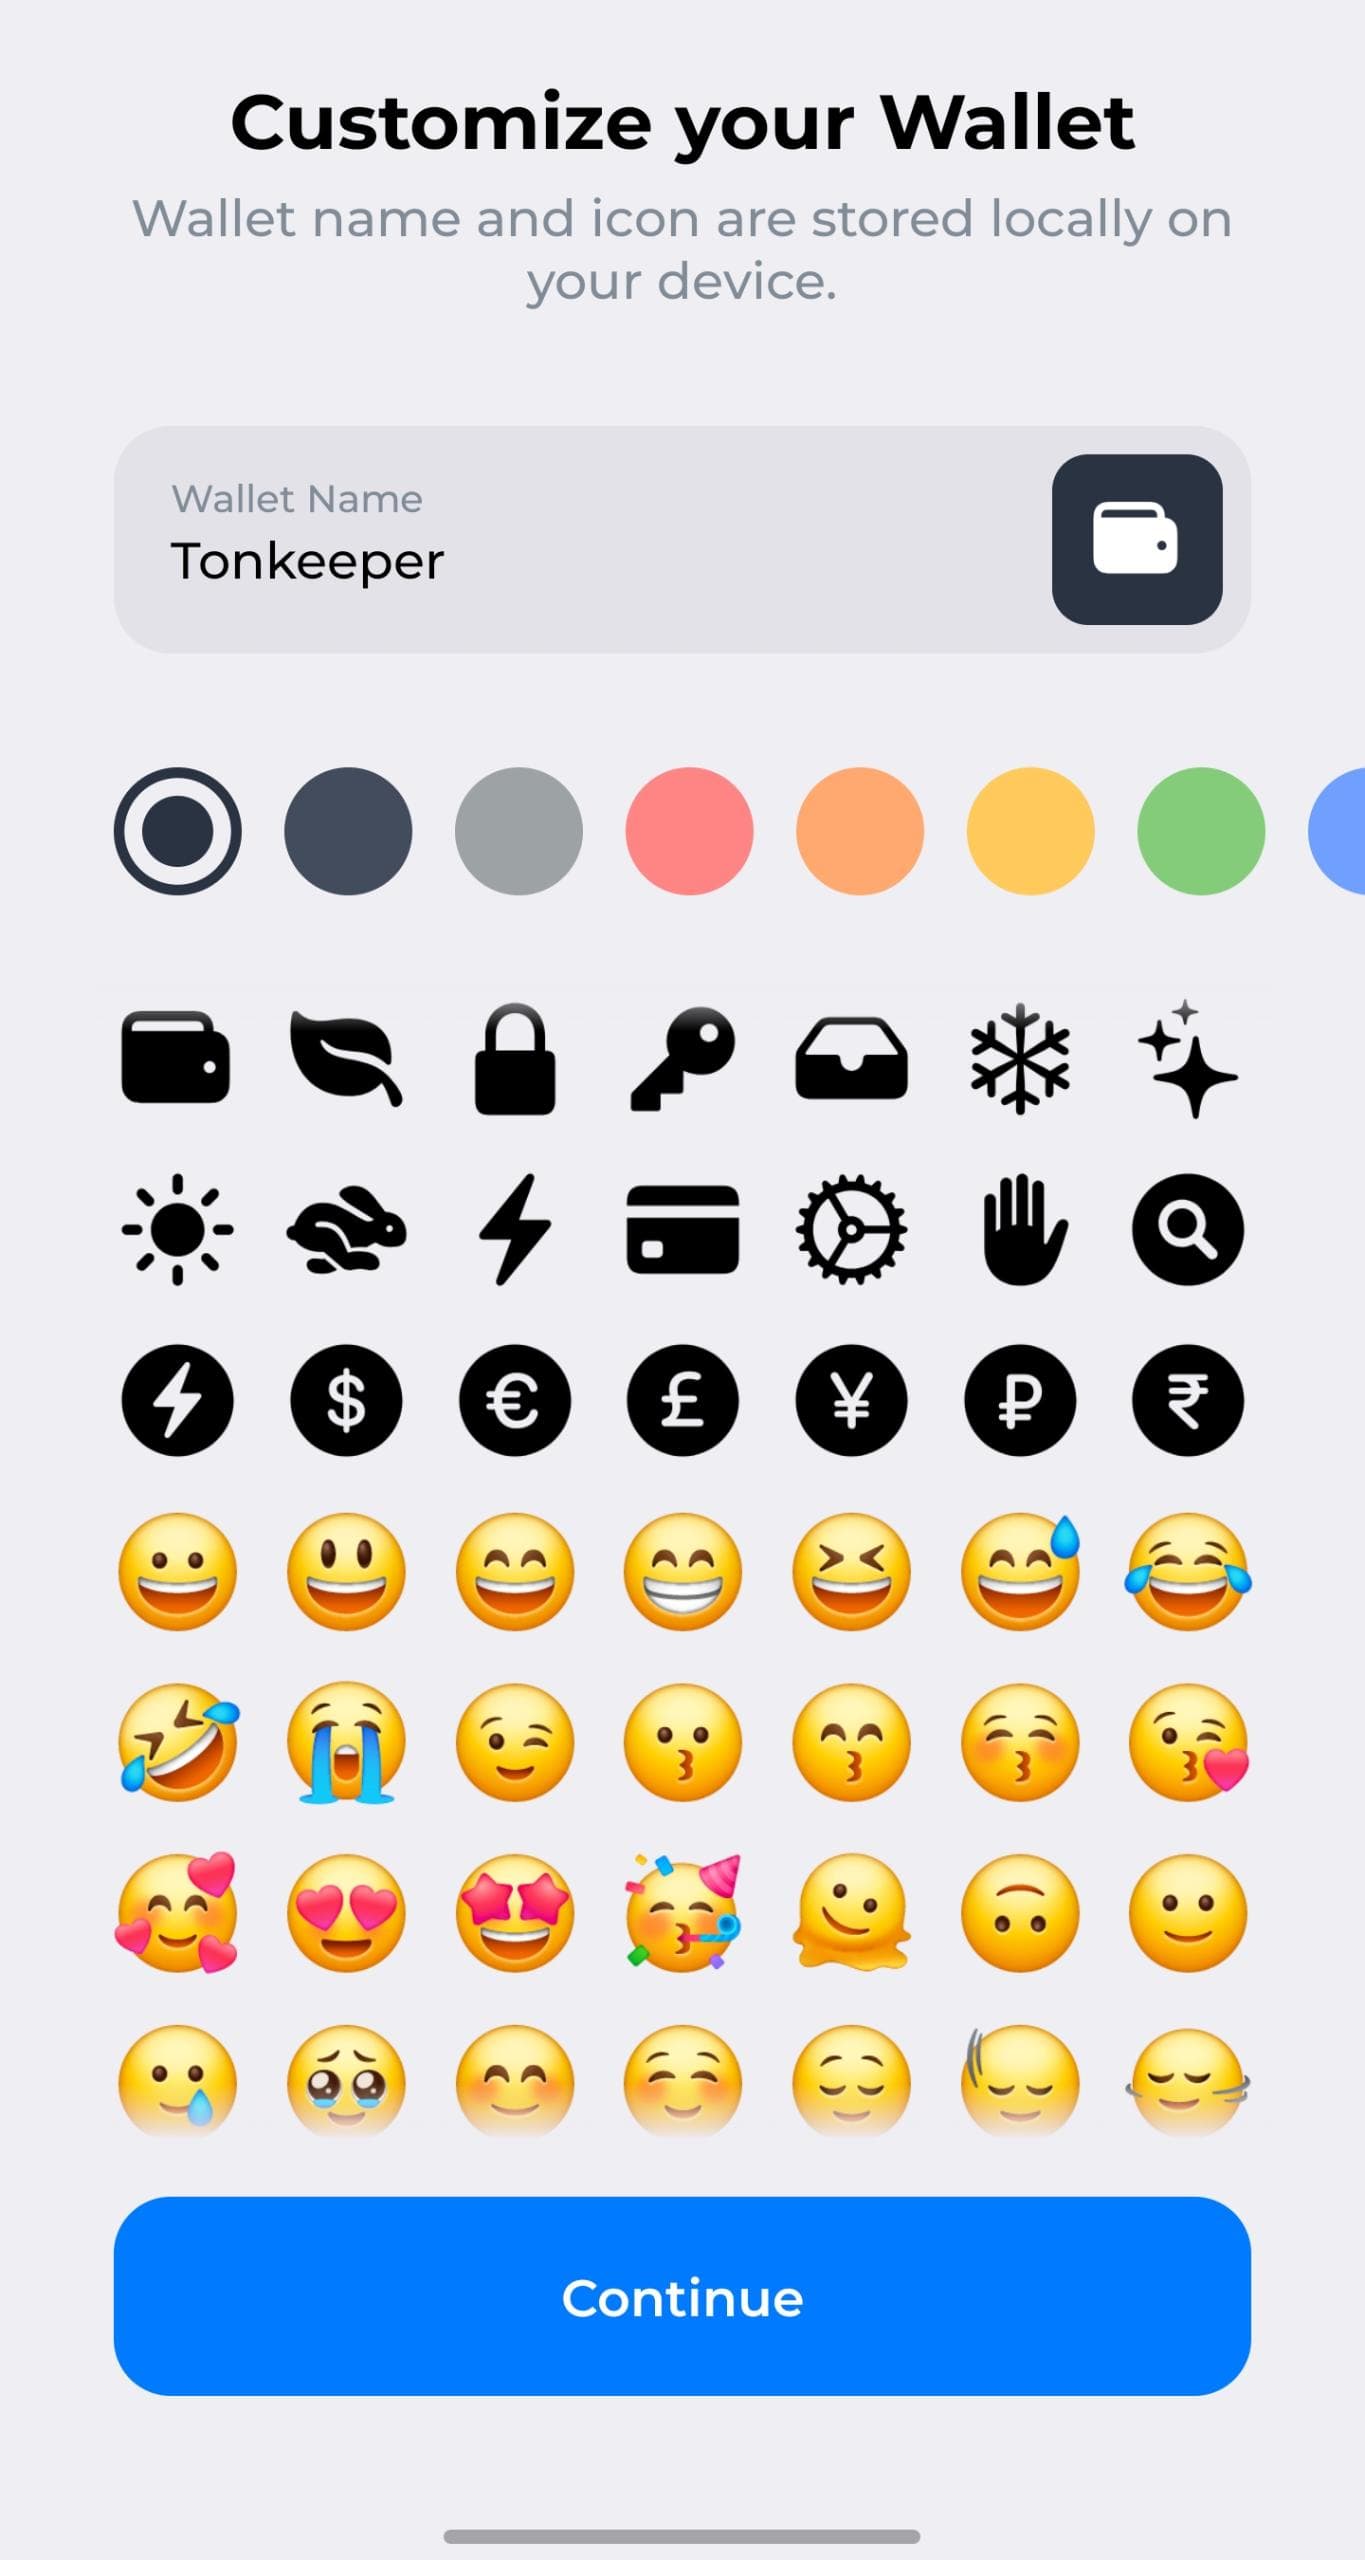
- Customize your wallet by adding your wallet name. Add a name or icon if desired.
- Set a PIN code for transaction confirmation. Your TON wallet will be created but we are not done yet.
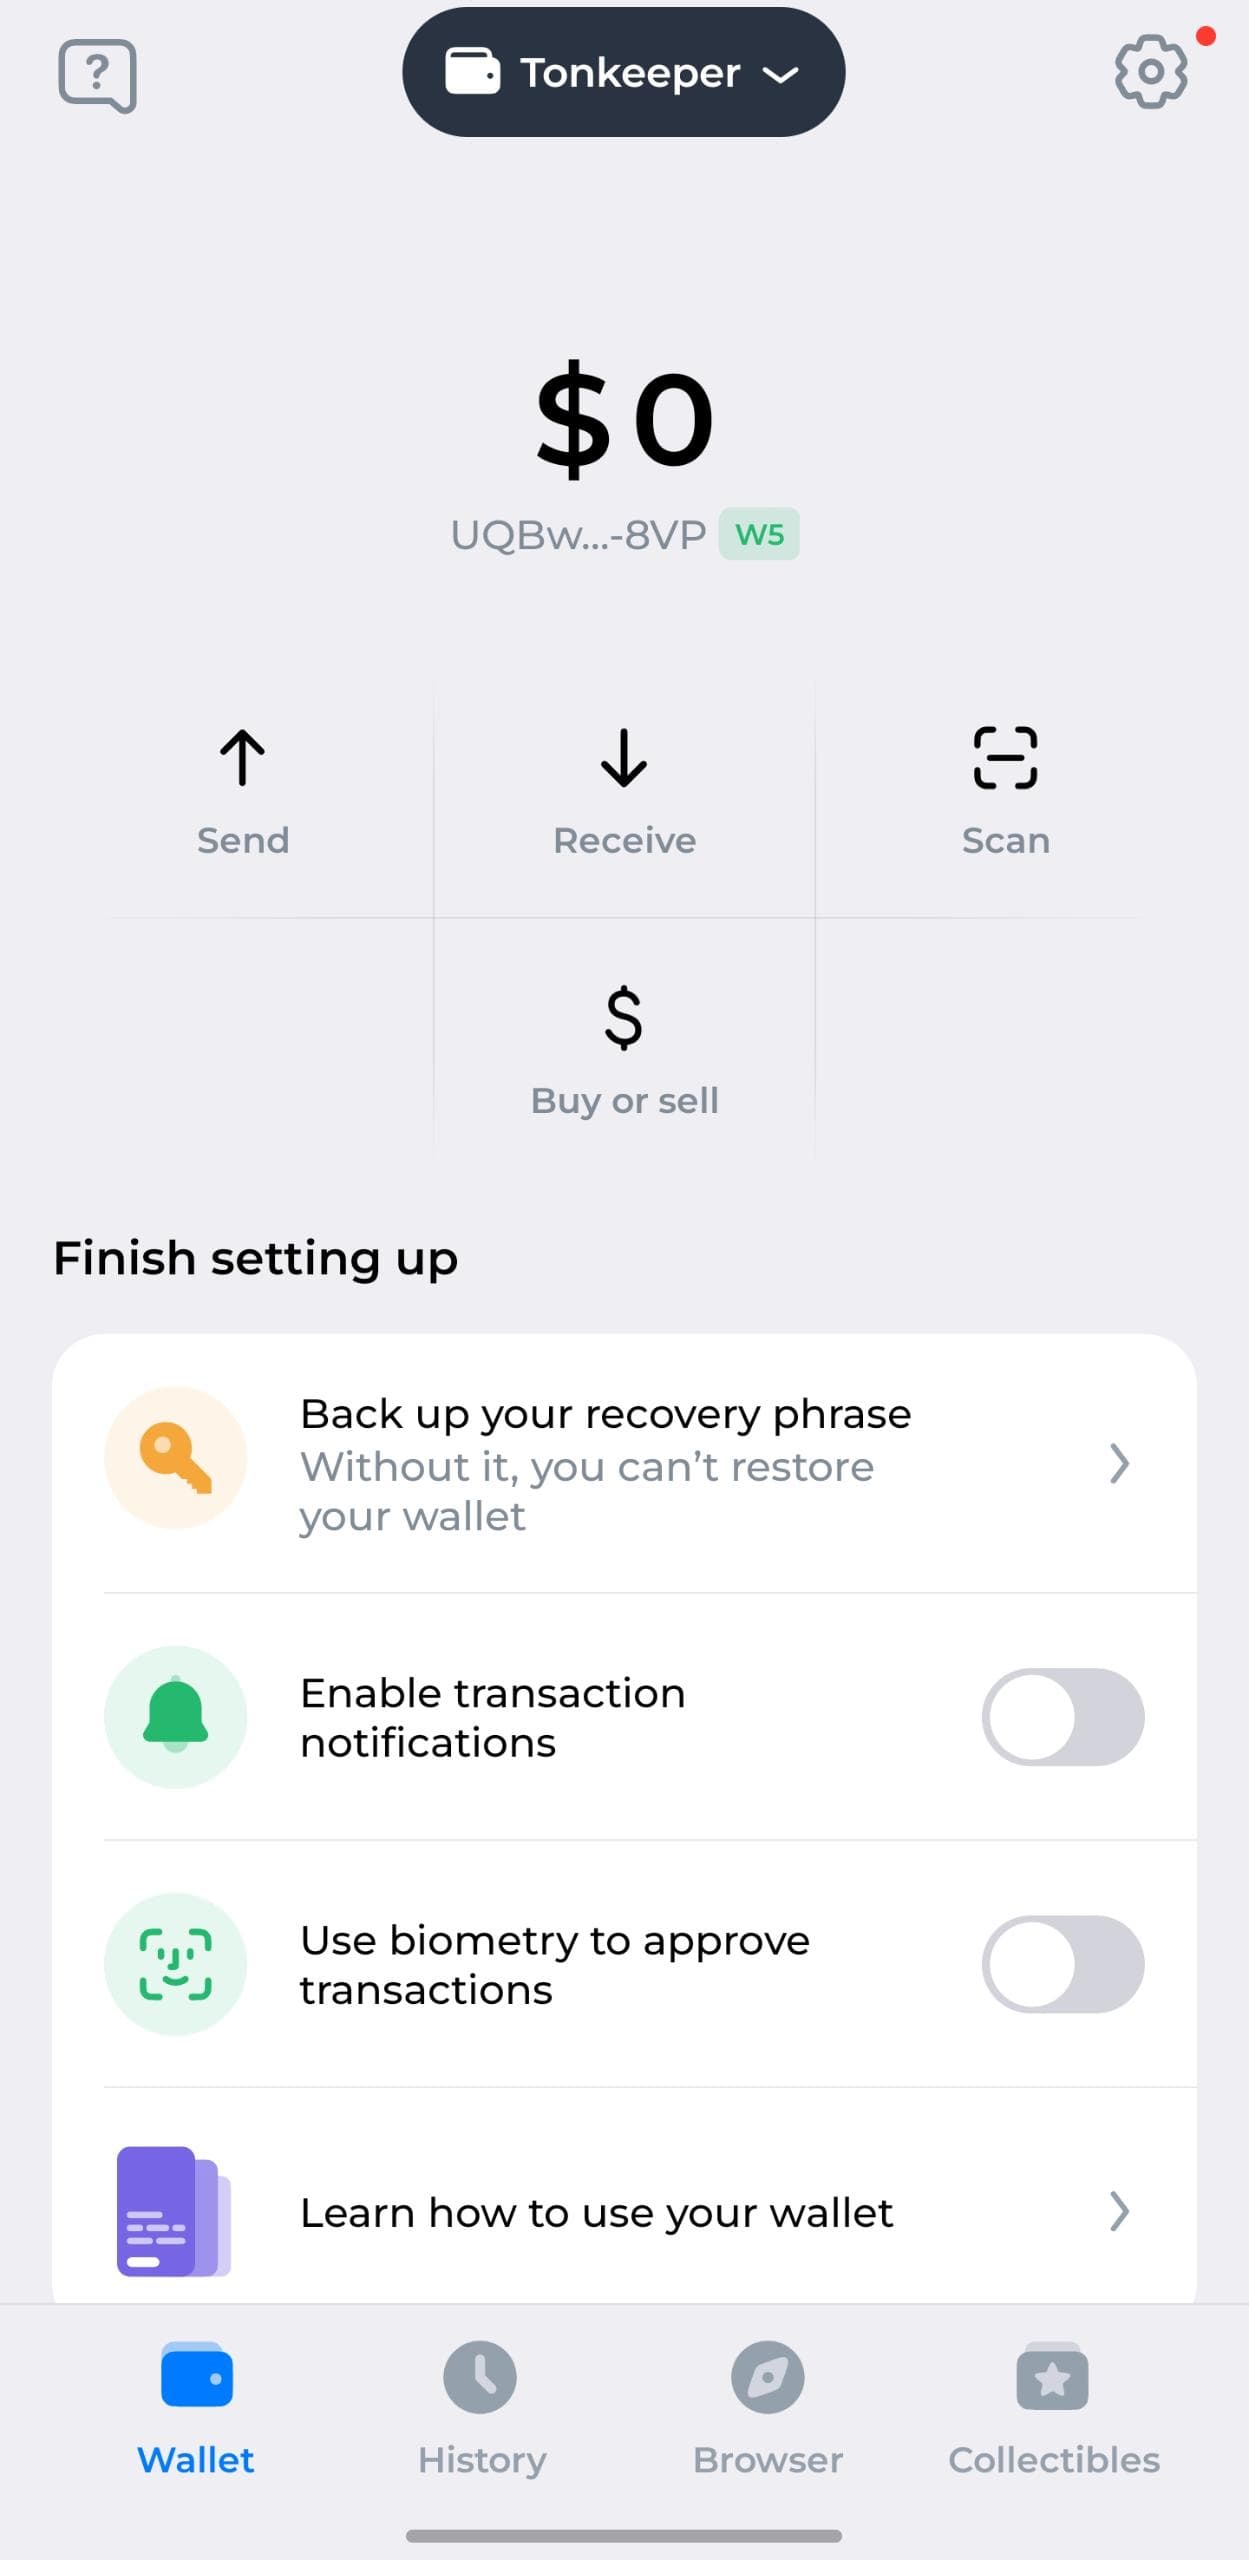
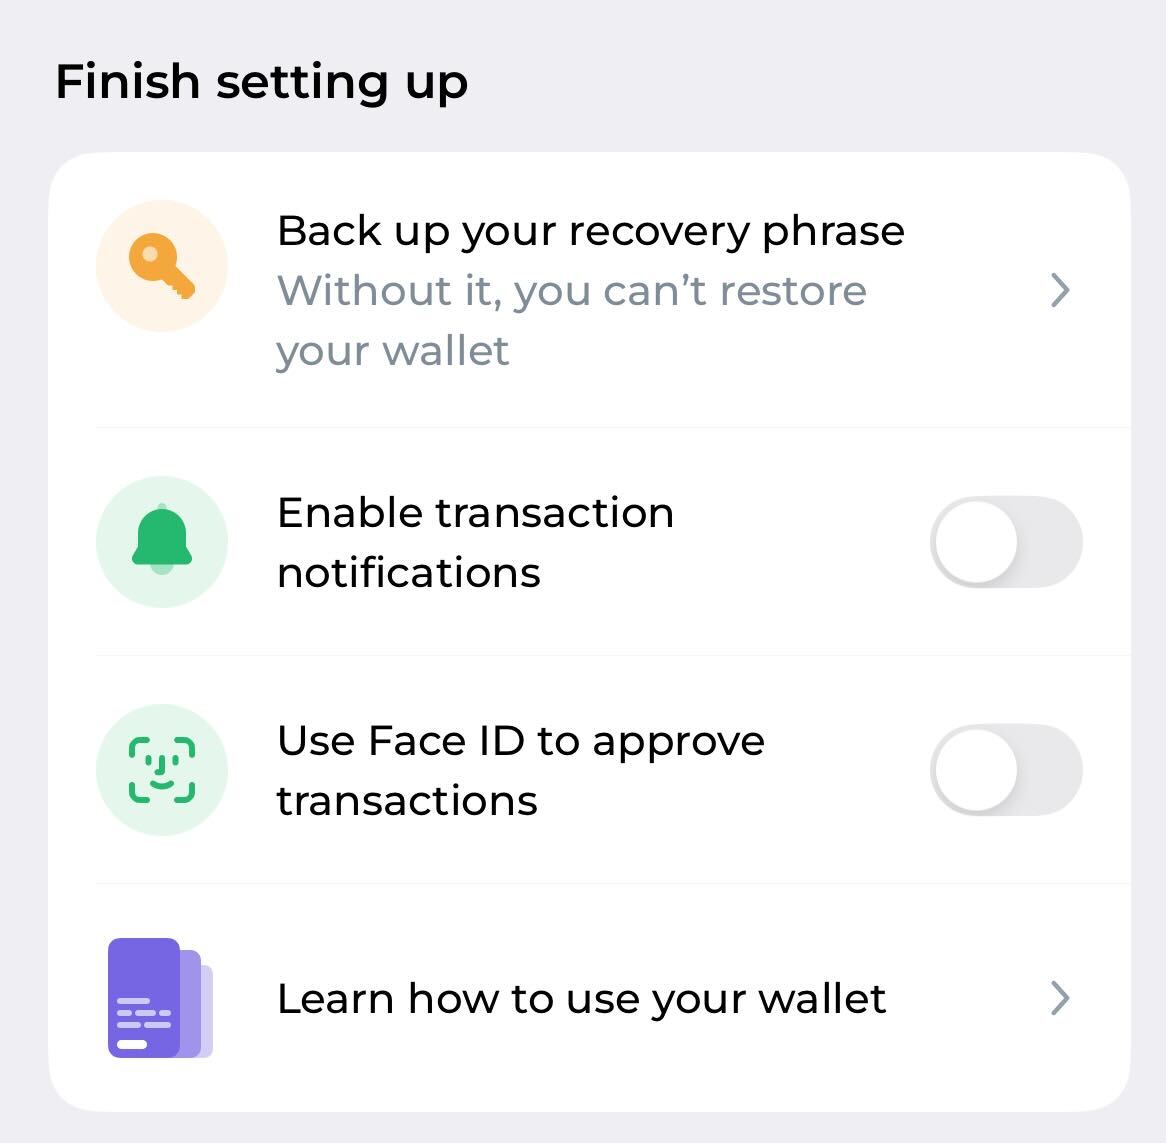
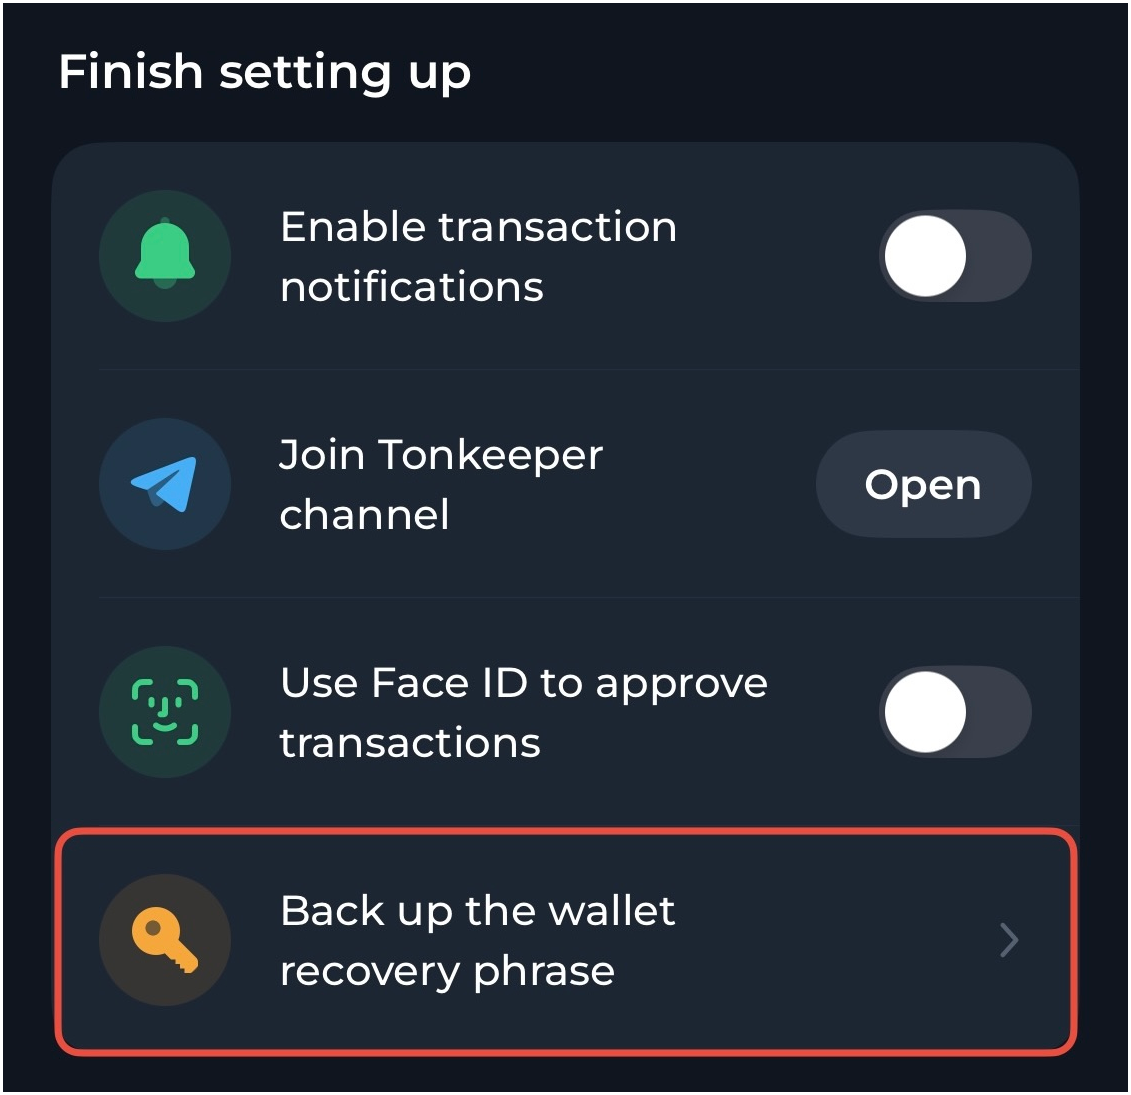
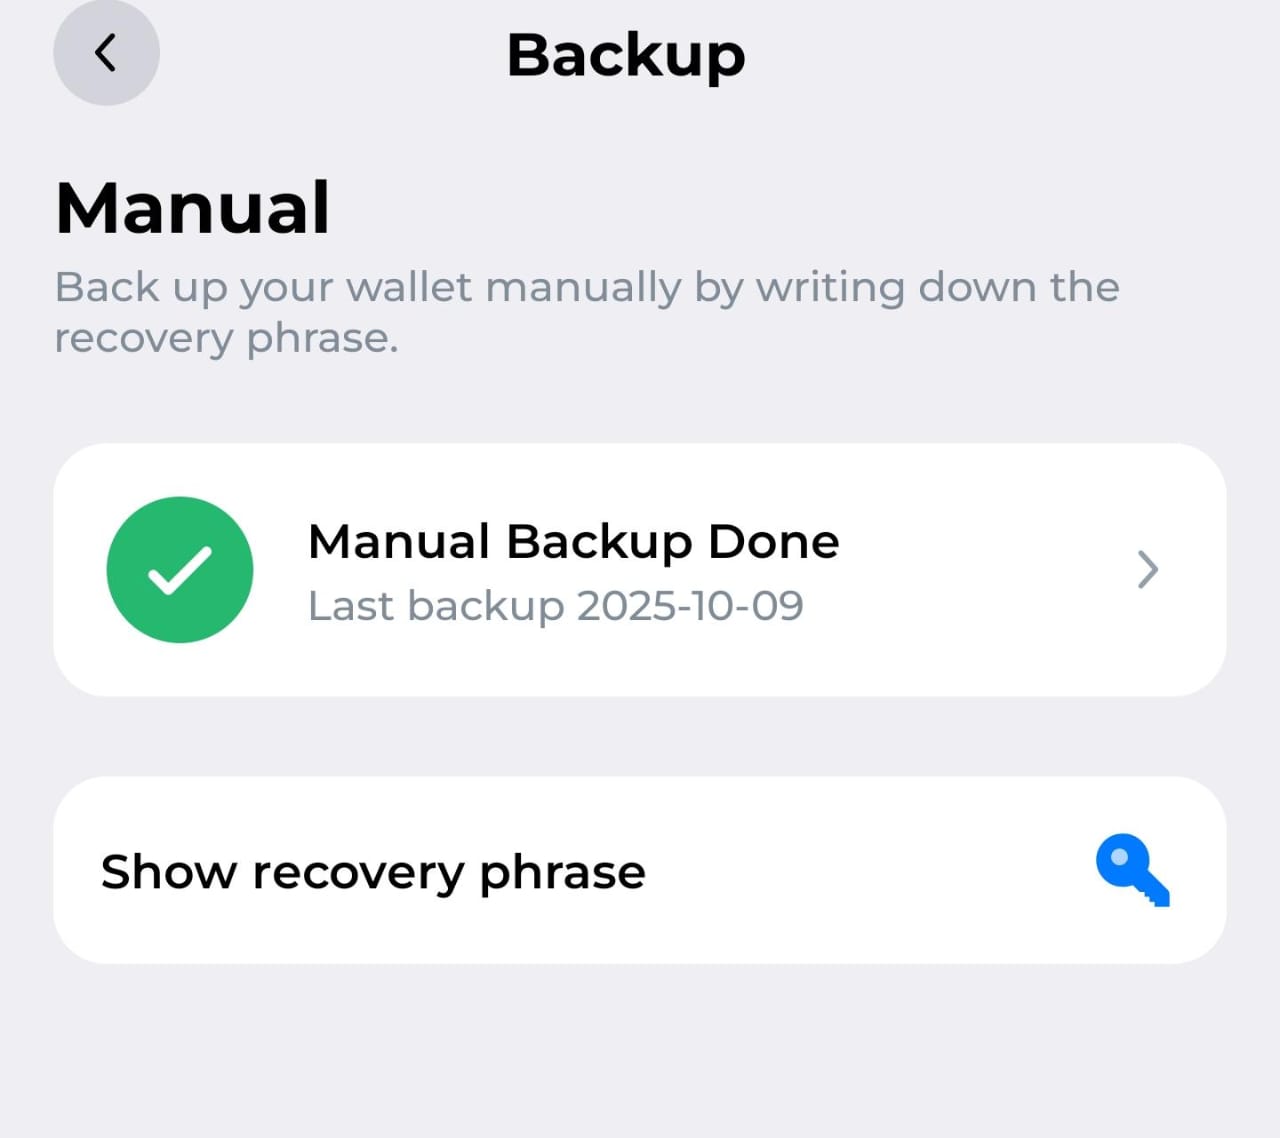
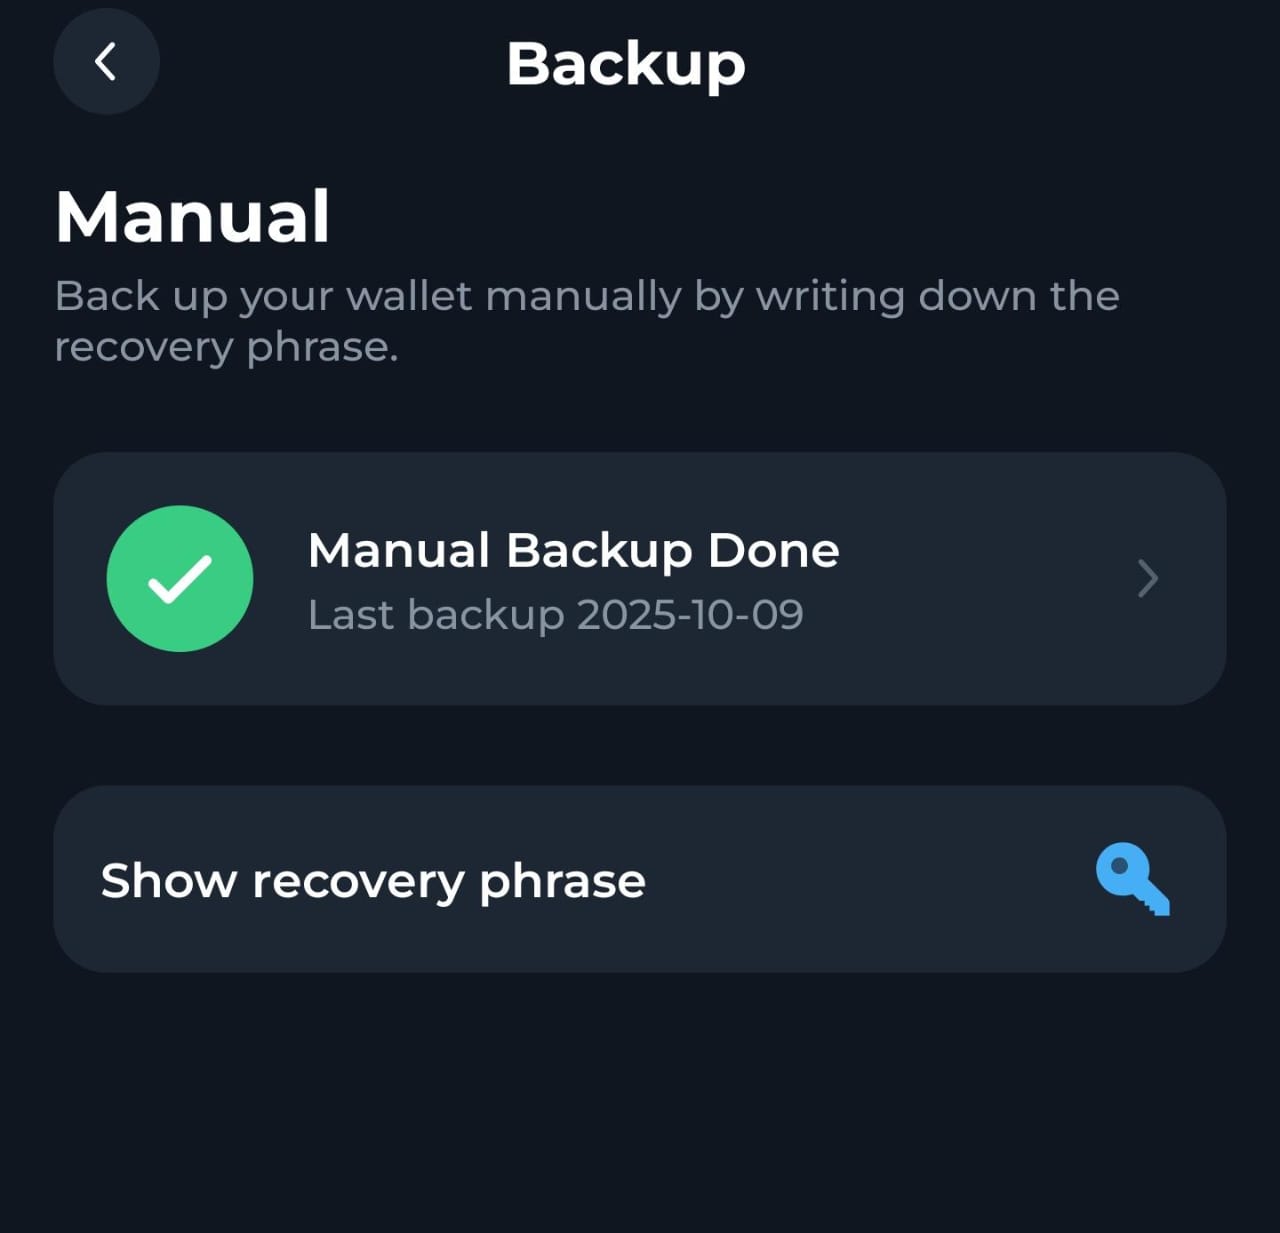
- Click Back up your recovery phrase. Without it, you cannot restore access to your wallet.
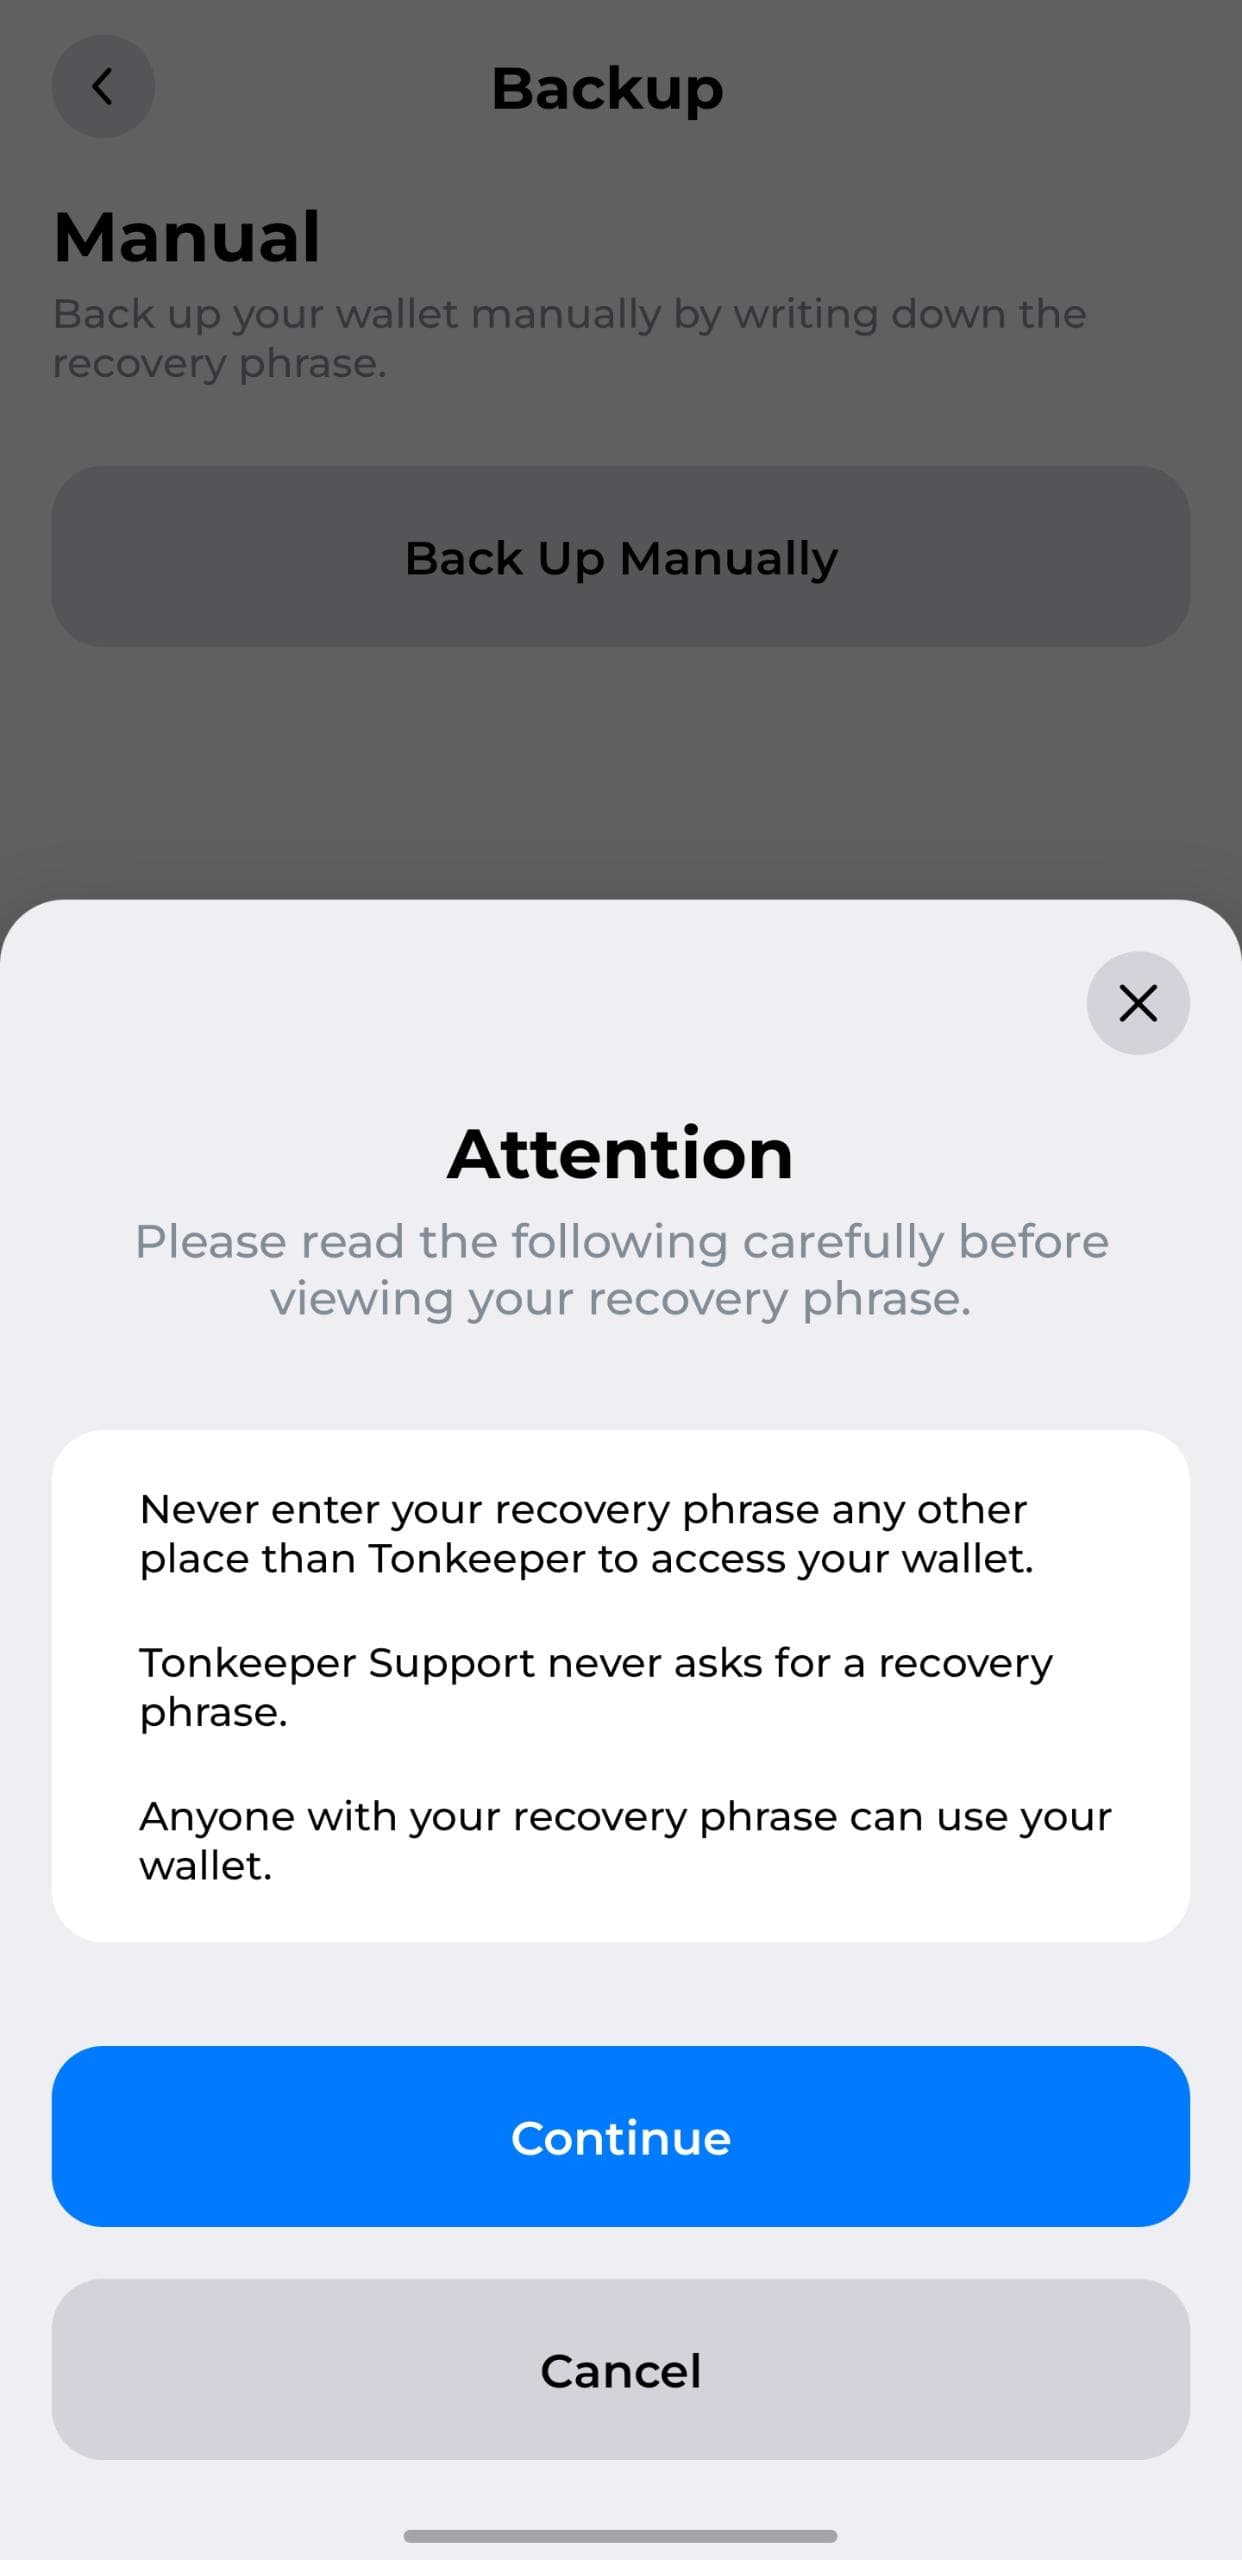
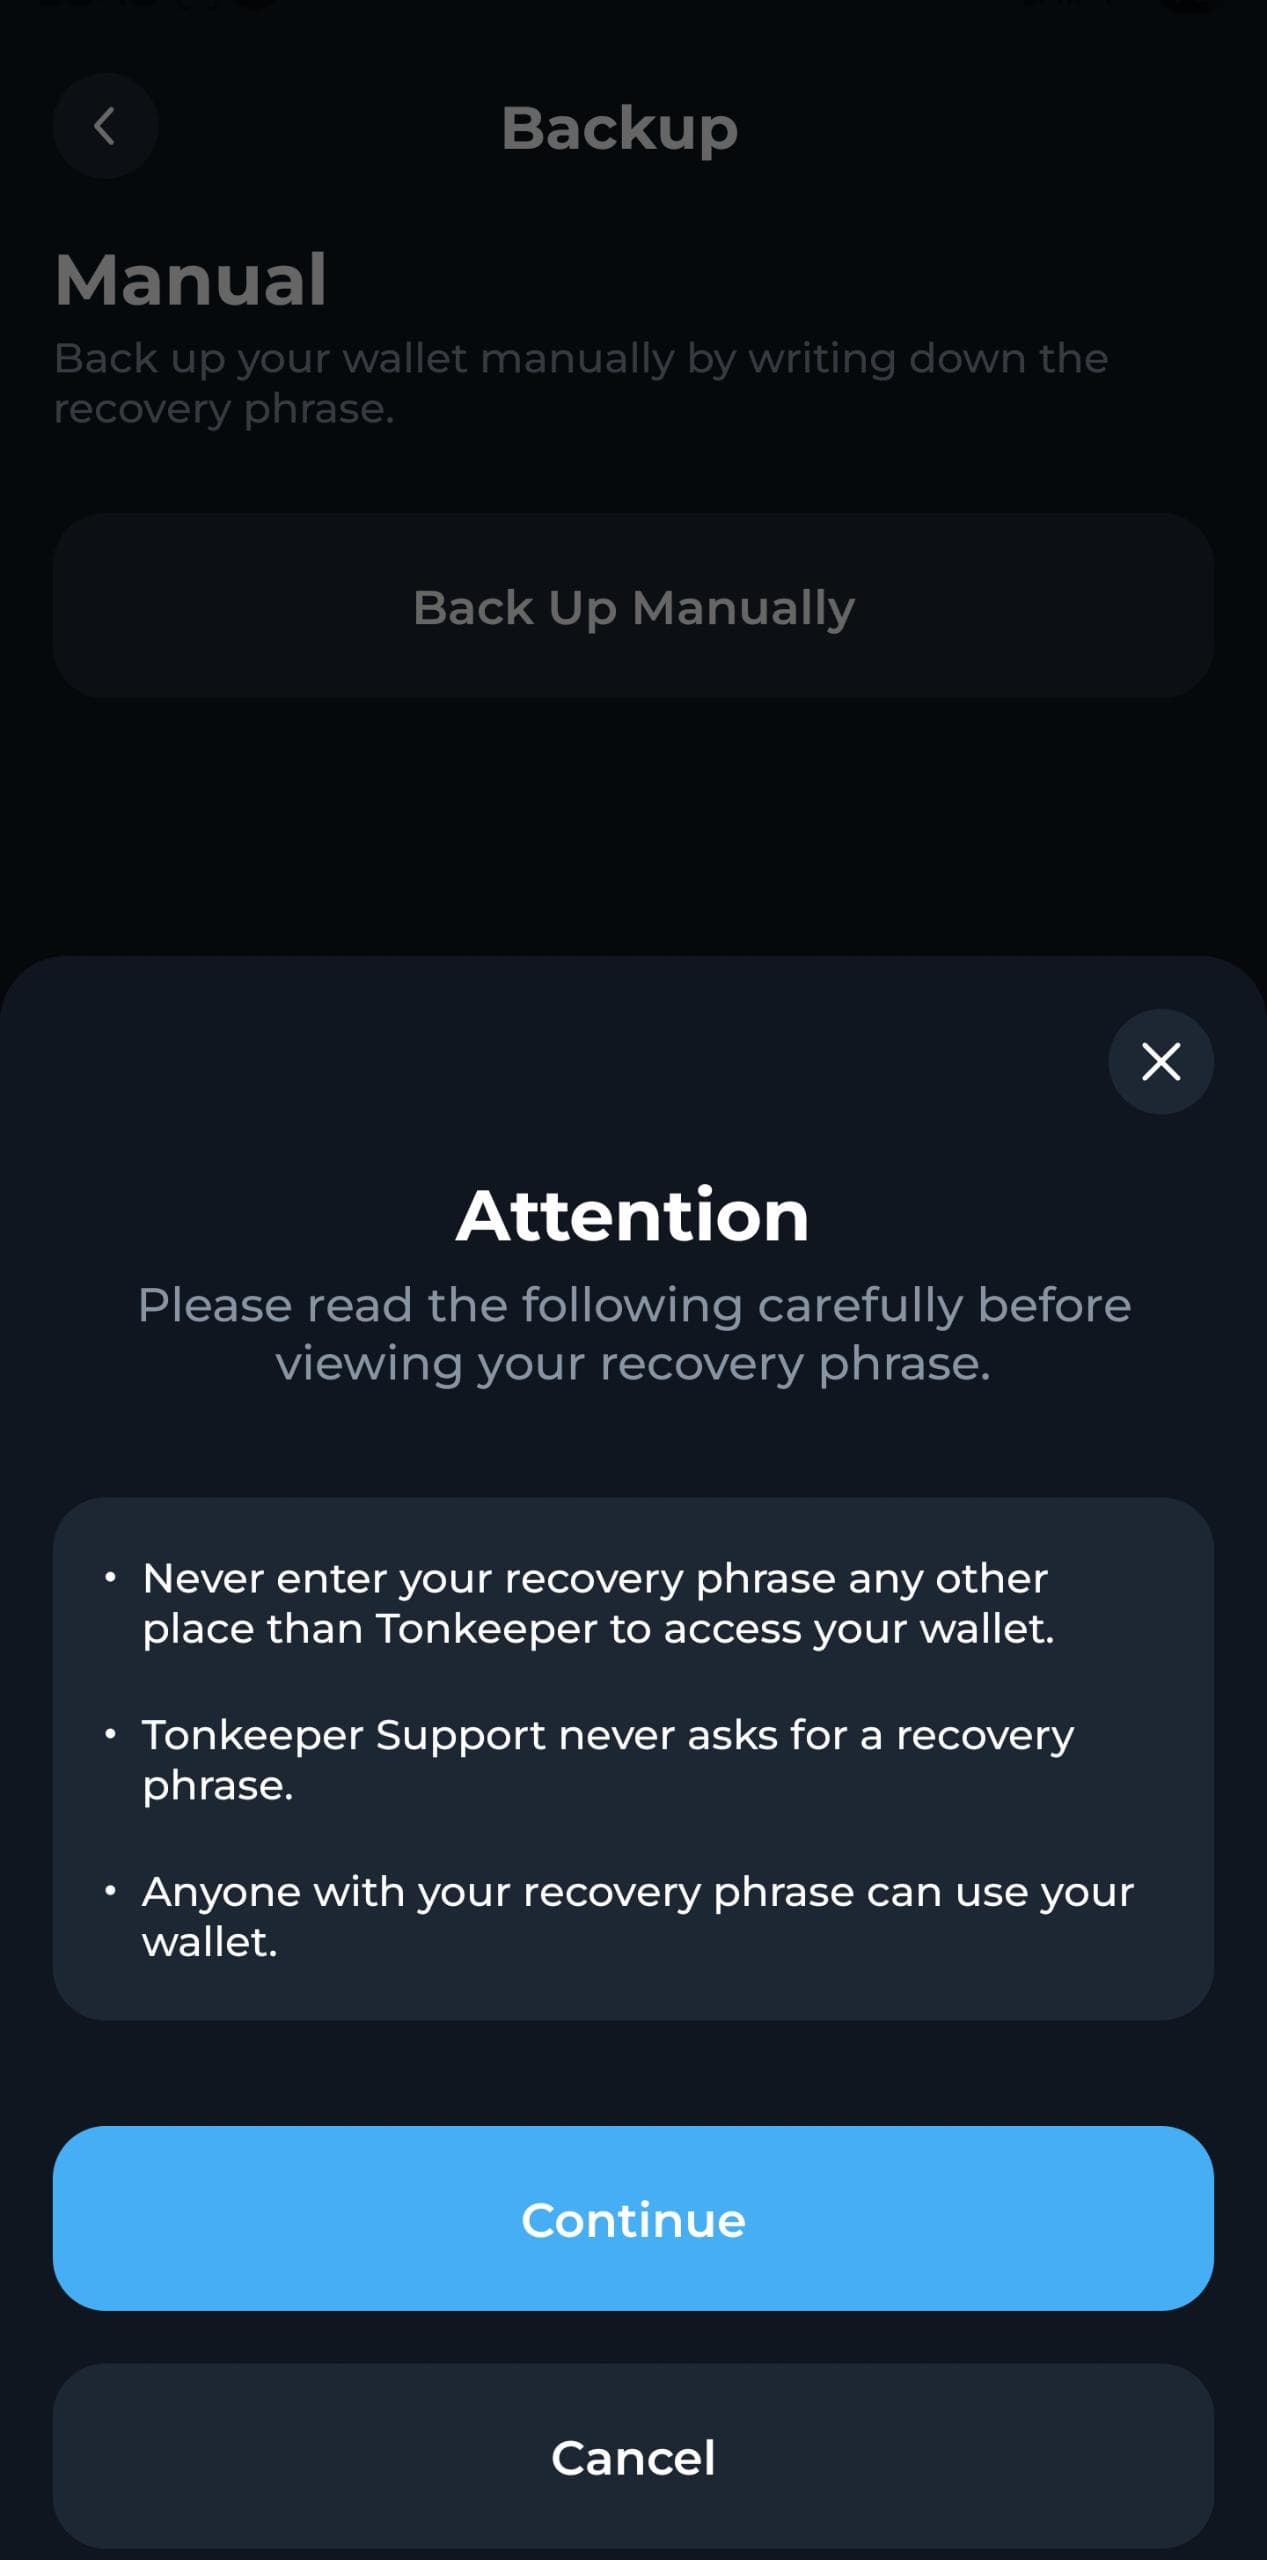
- Click Back up manually. You’ll see an attention dialog box (read this carefully as it contains dos and don’ts you need to know before viewing your recovery phrase). Once you’re done, click continue.
- Write down the 24 recovery phrases shown to you as this is very important. Click check backup once you’re done.
Never share your recovery phrase with anyone. If someone gets access to your 24-word recovery phrase, they can have access to all your funds.
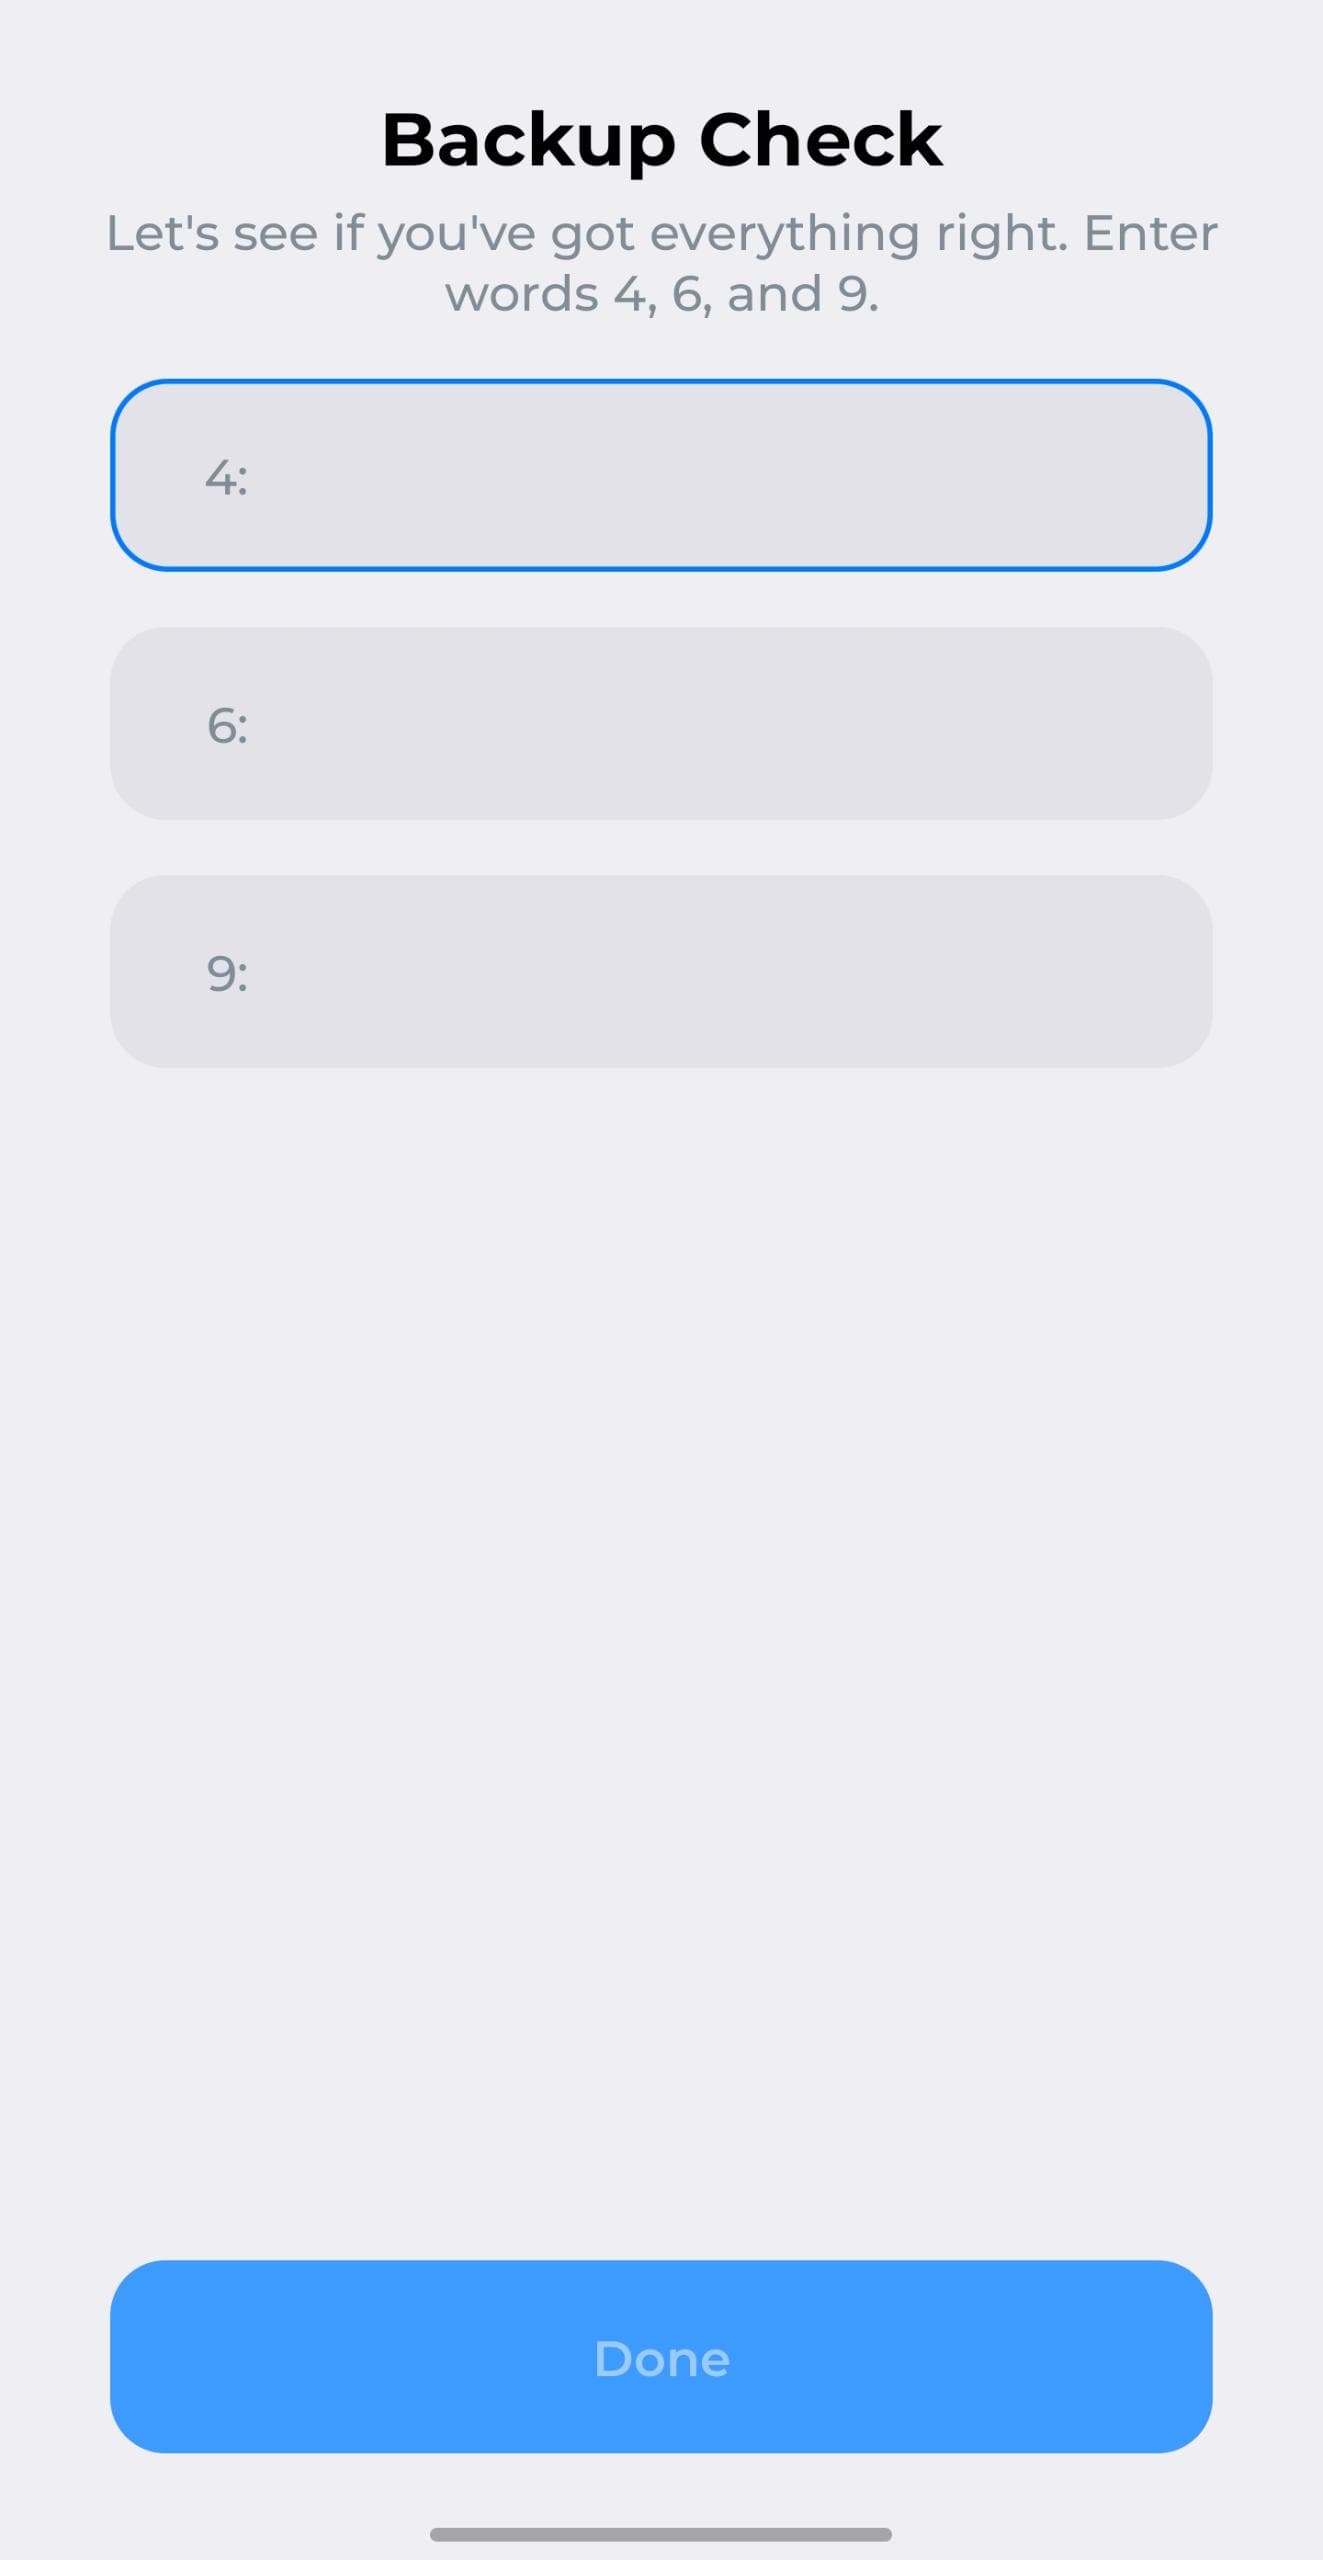
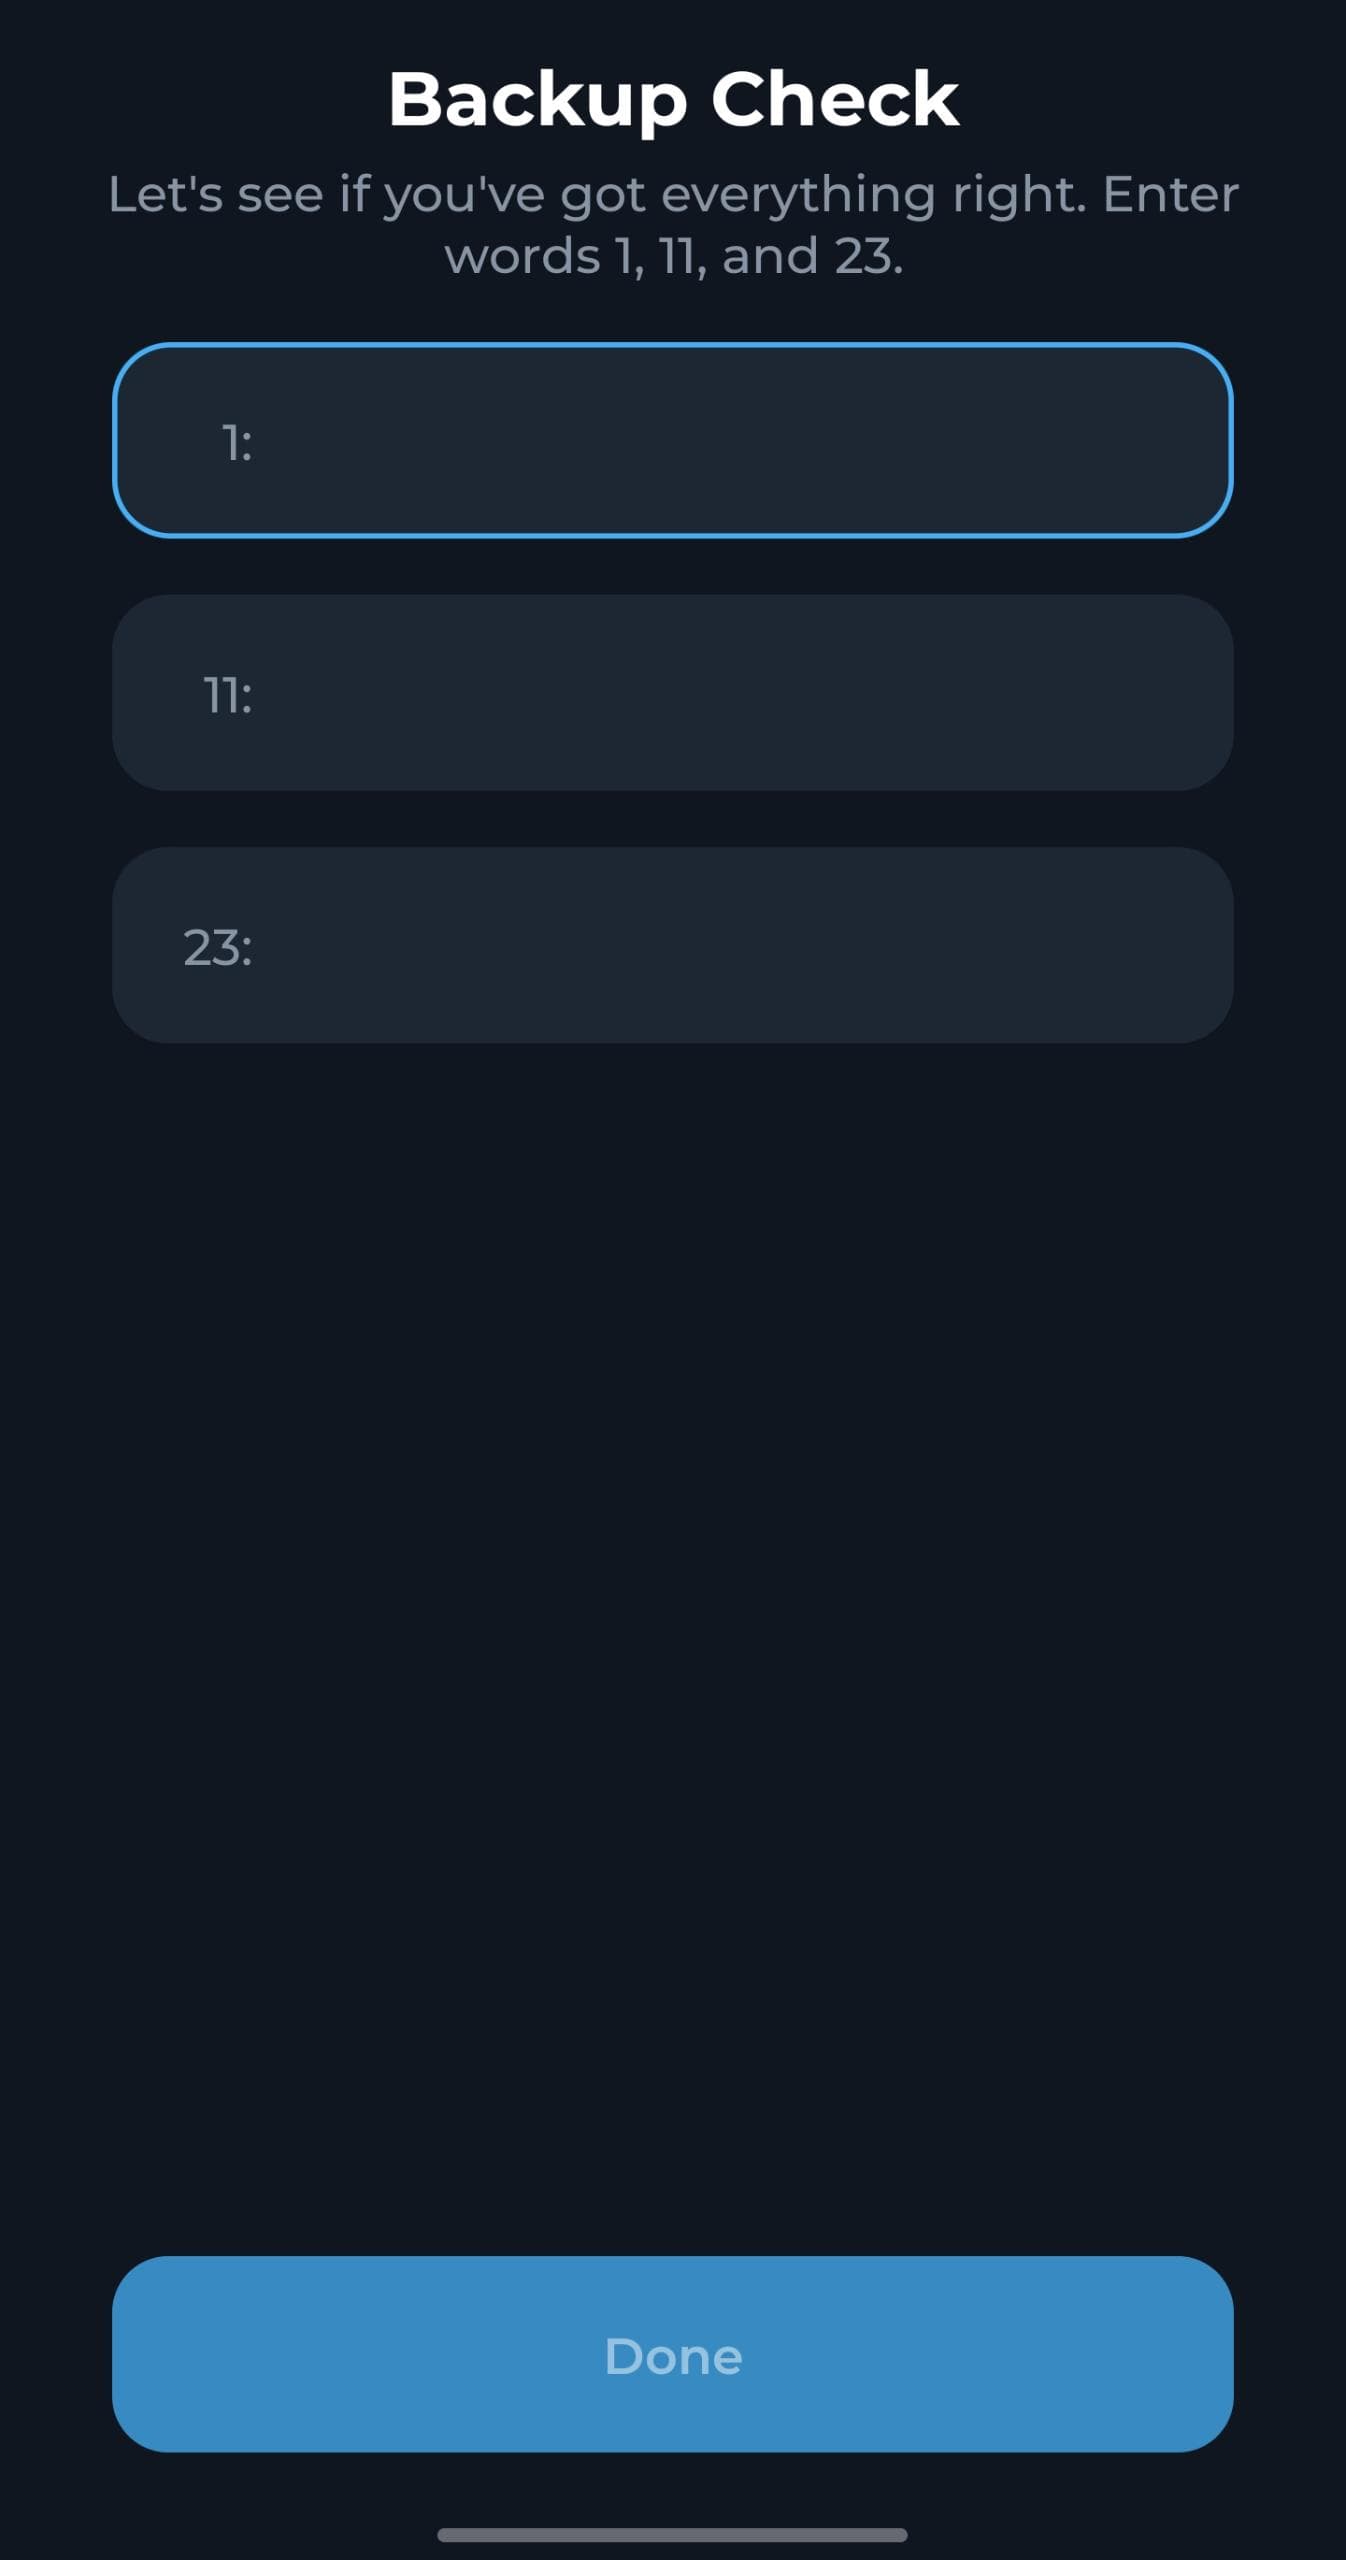
- You’ll be asked to verify a few words to confirm if you have saved your recovery phrase correctly. After verification, click Done.
- You can always back up your recovery phrase whenever you choose.
 That’s it! Your wallet is now ready to use.
Testnet accounts
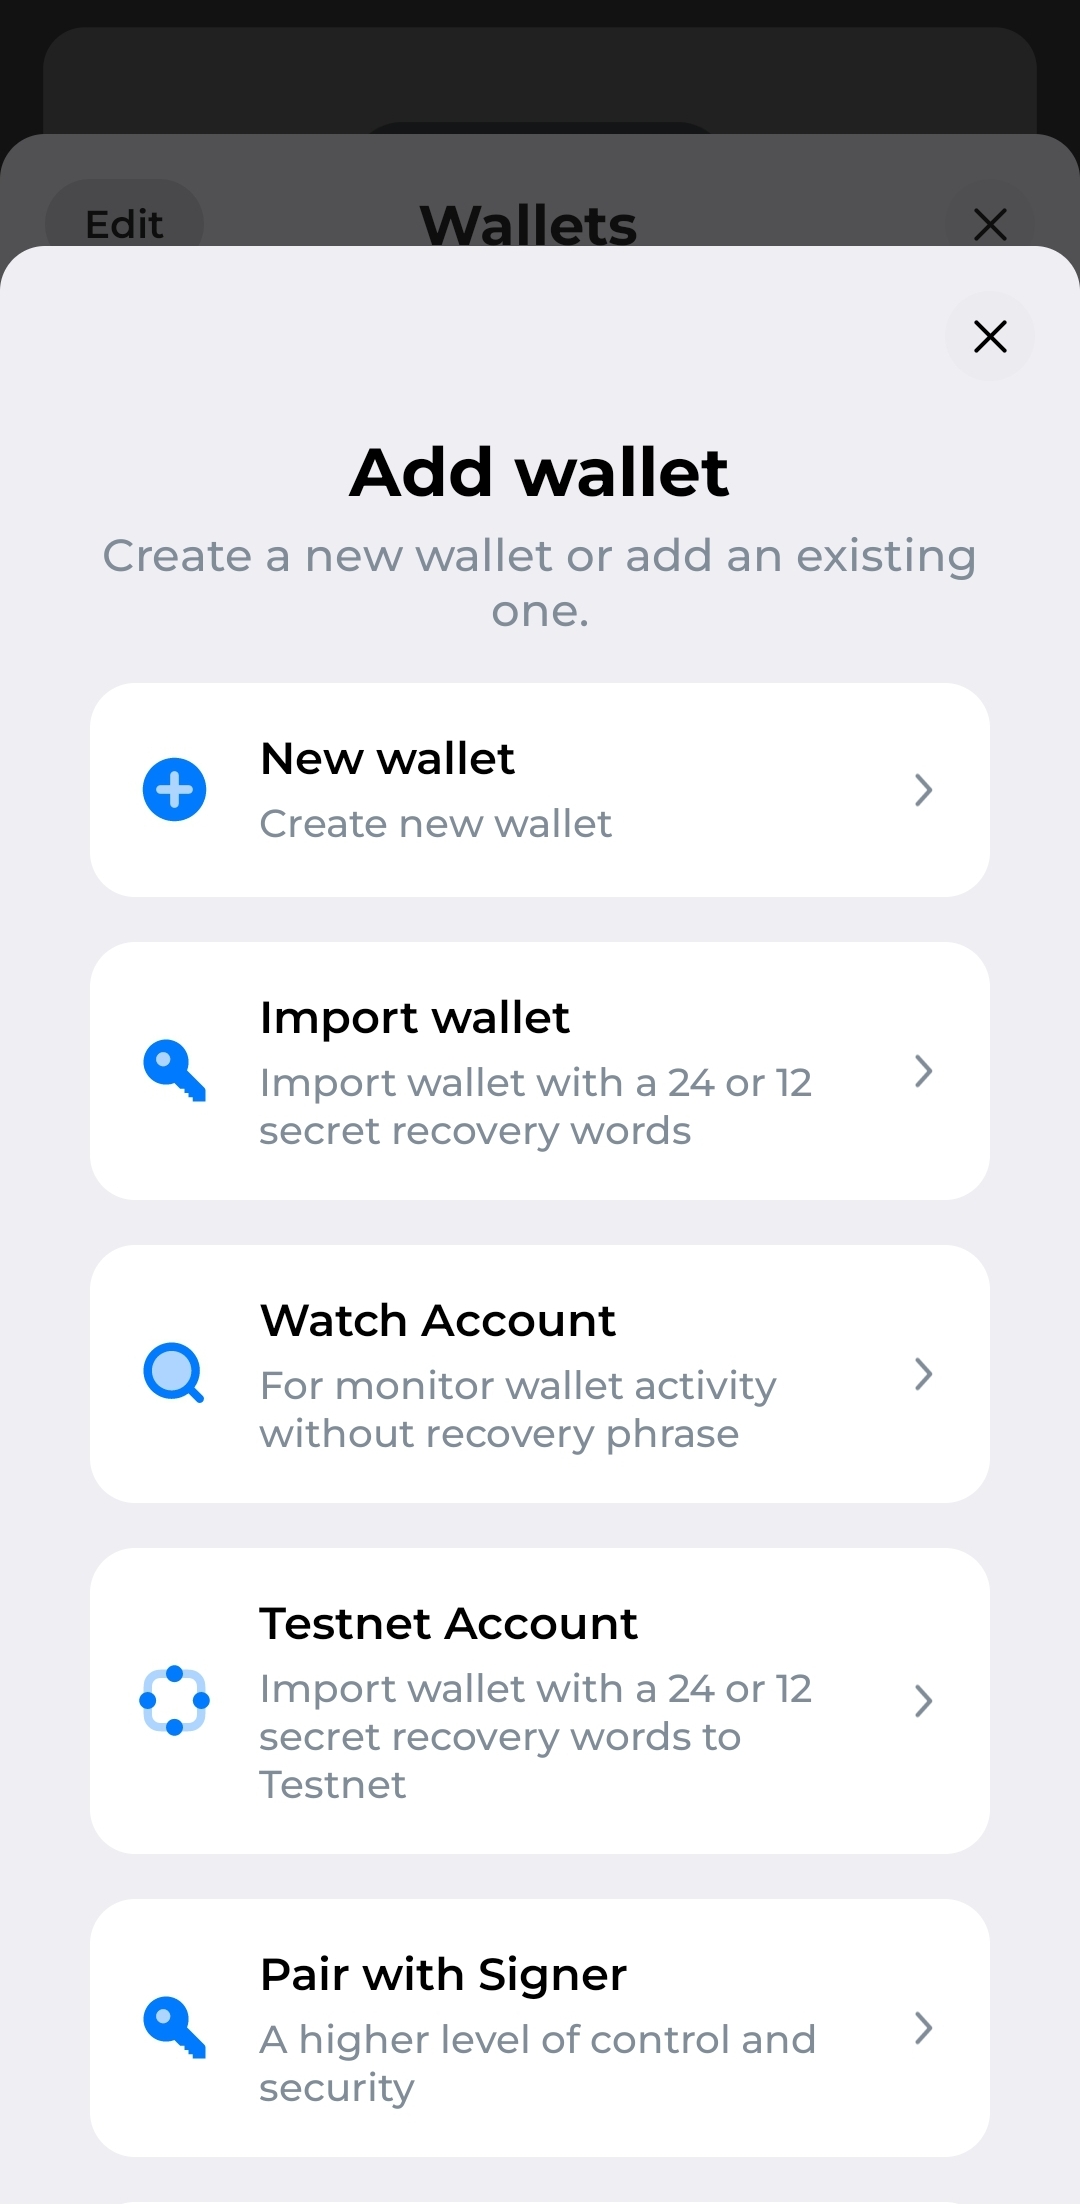
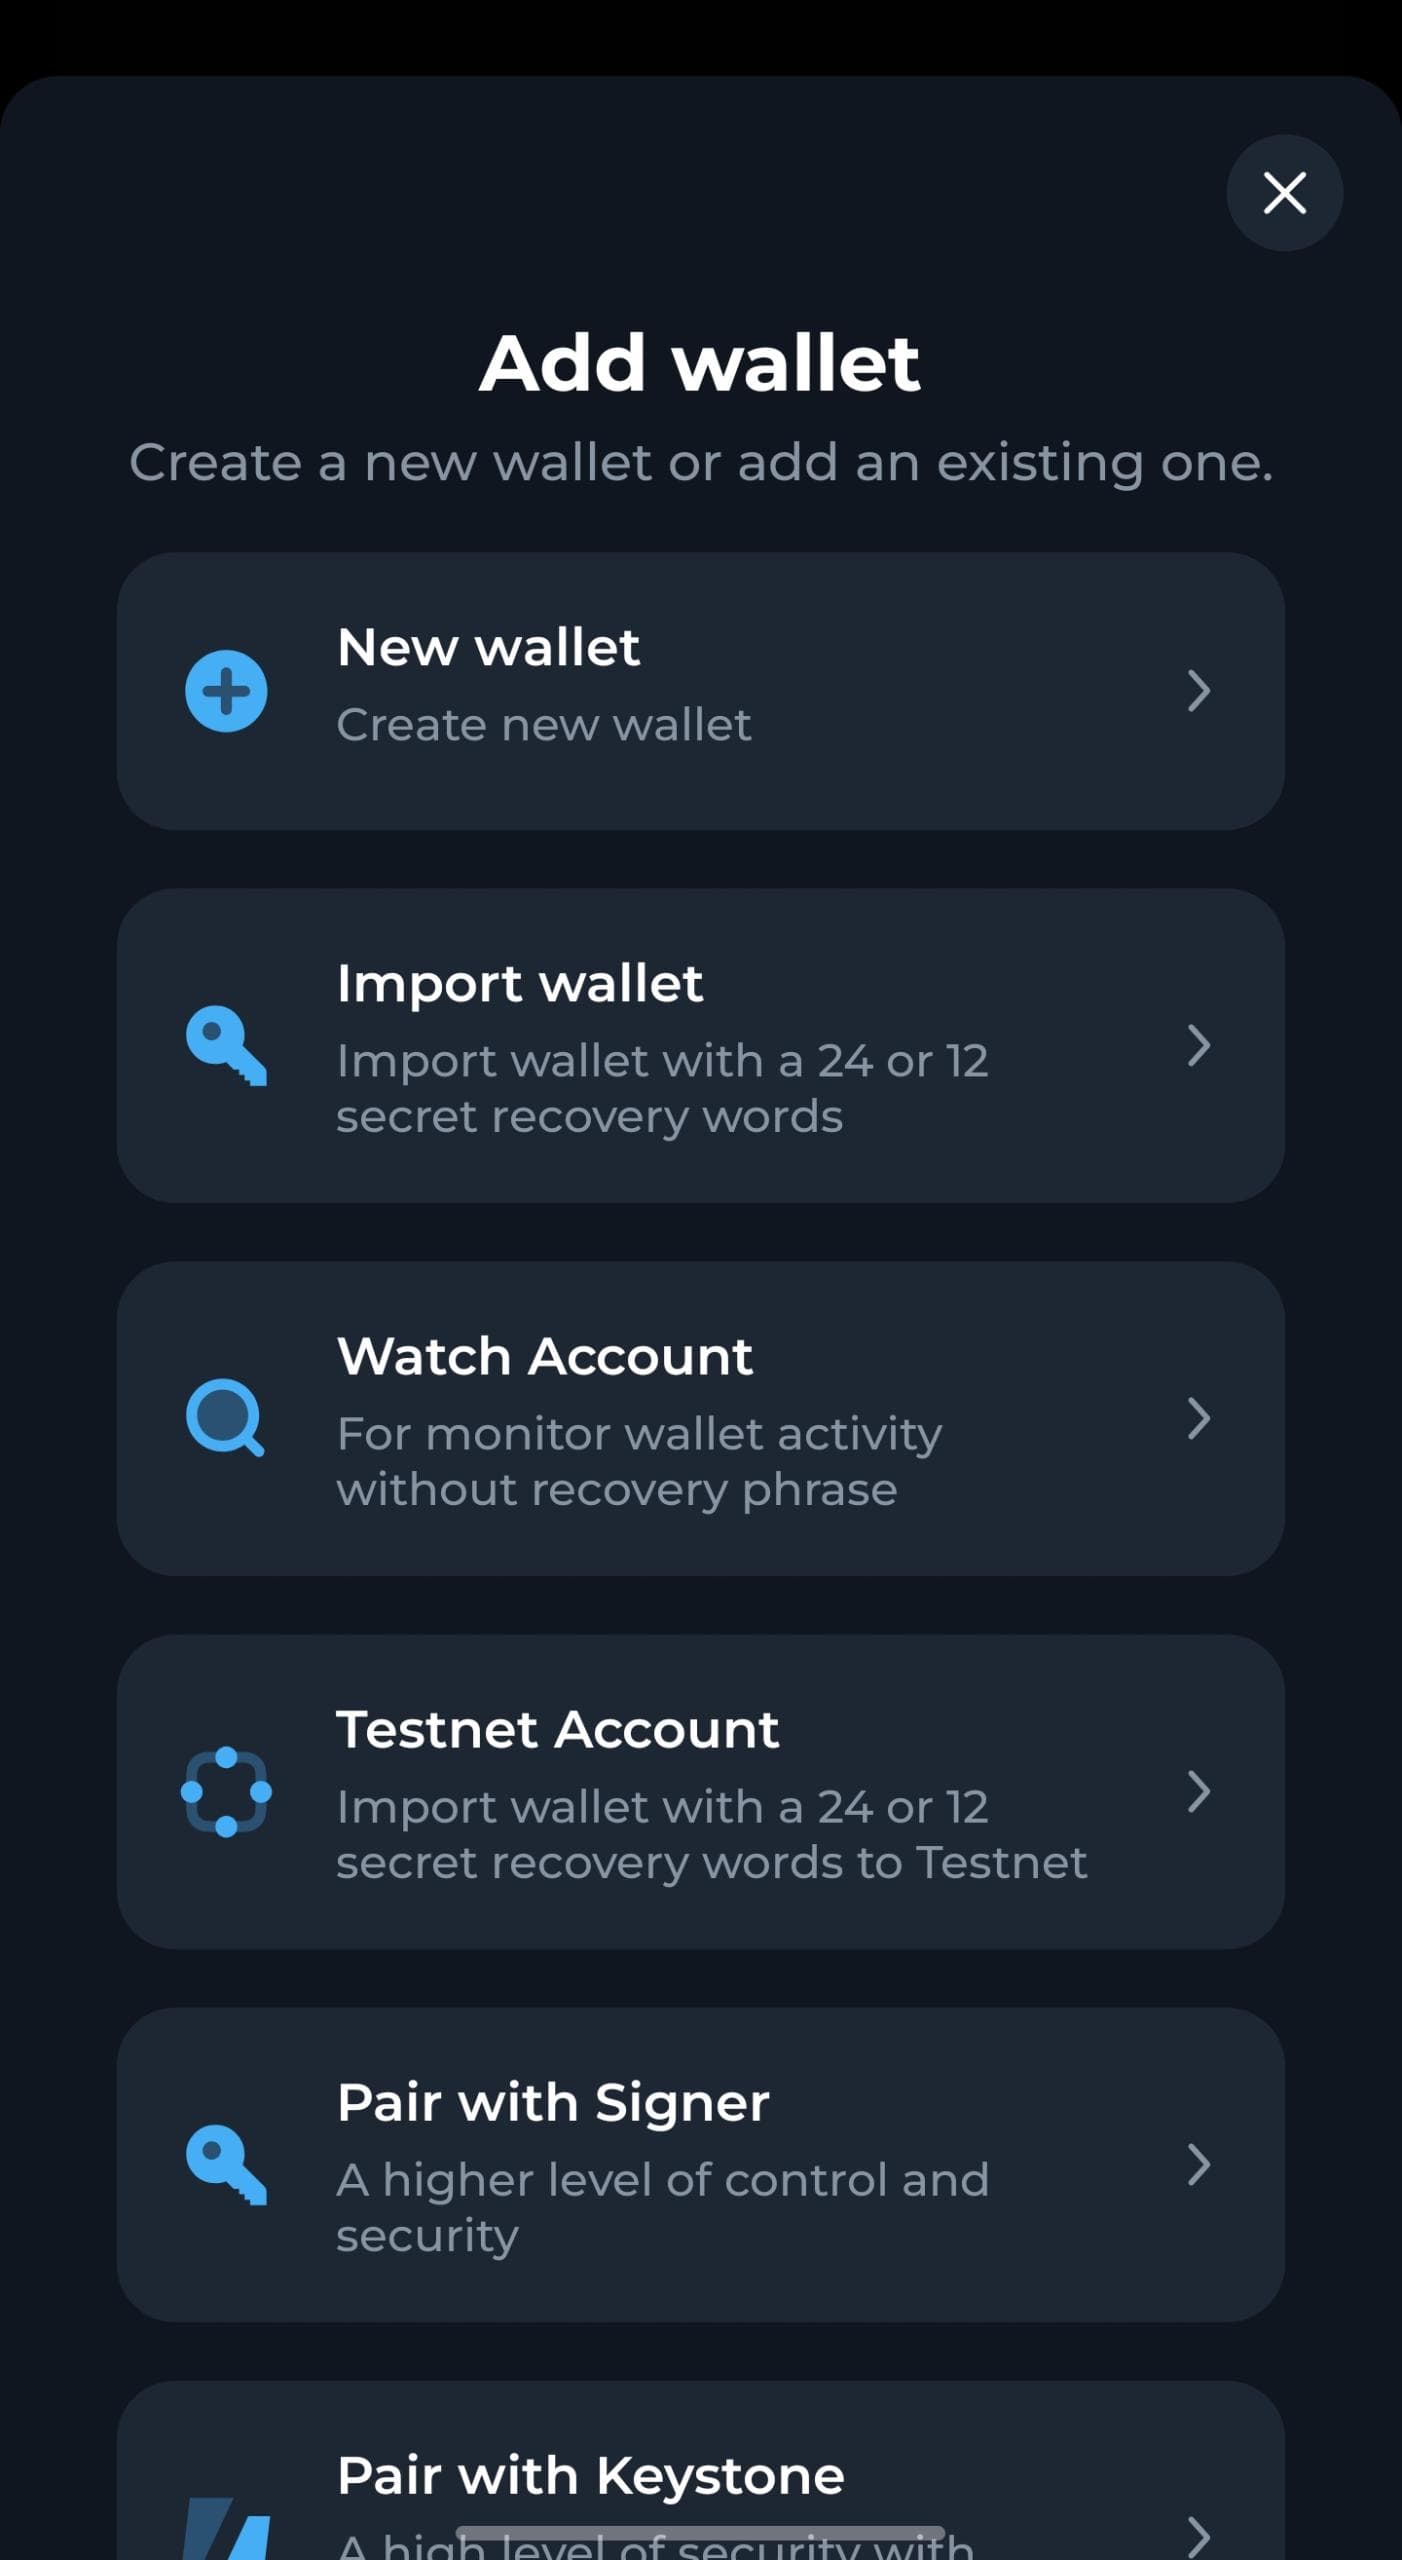
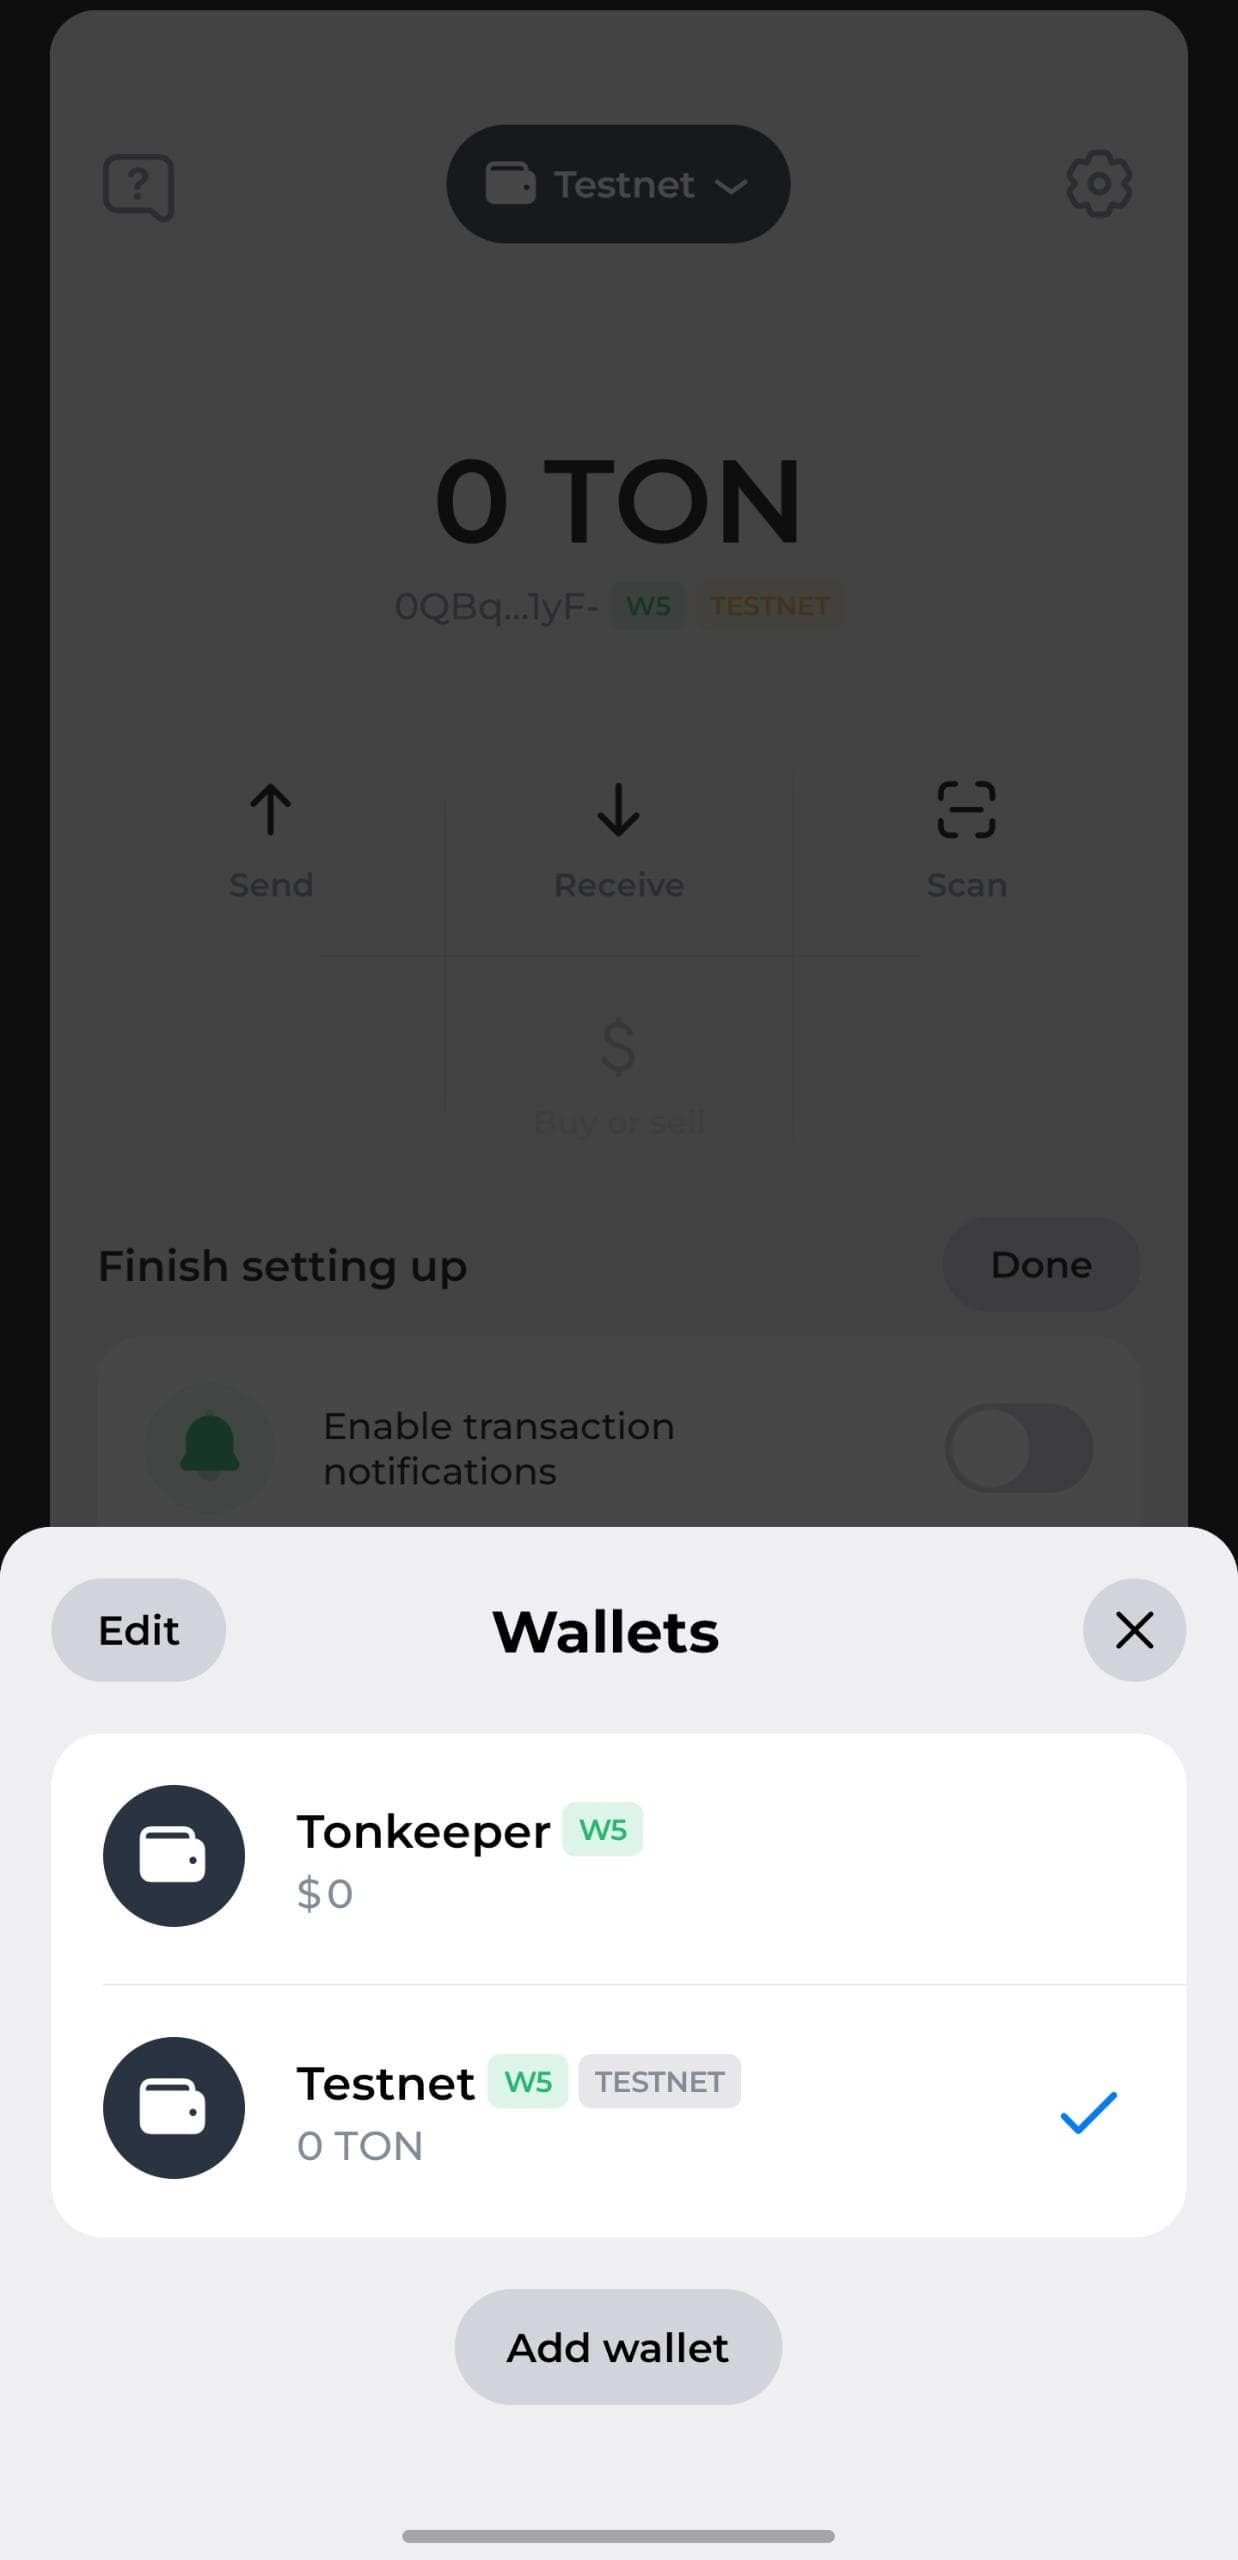
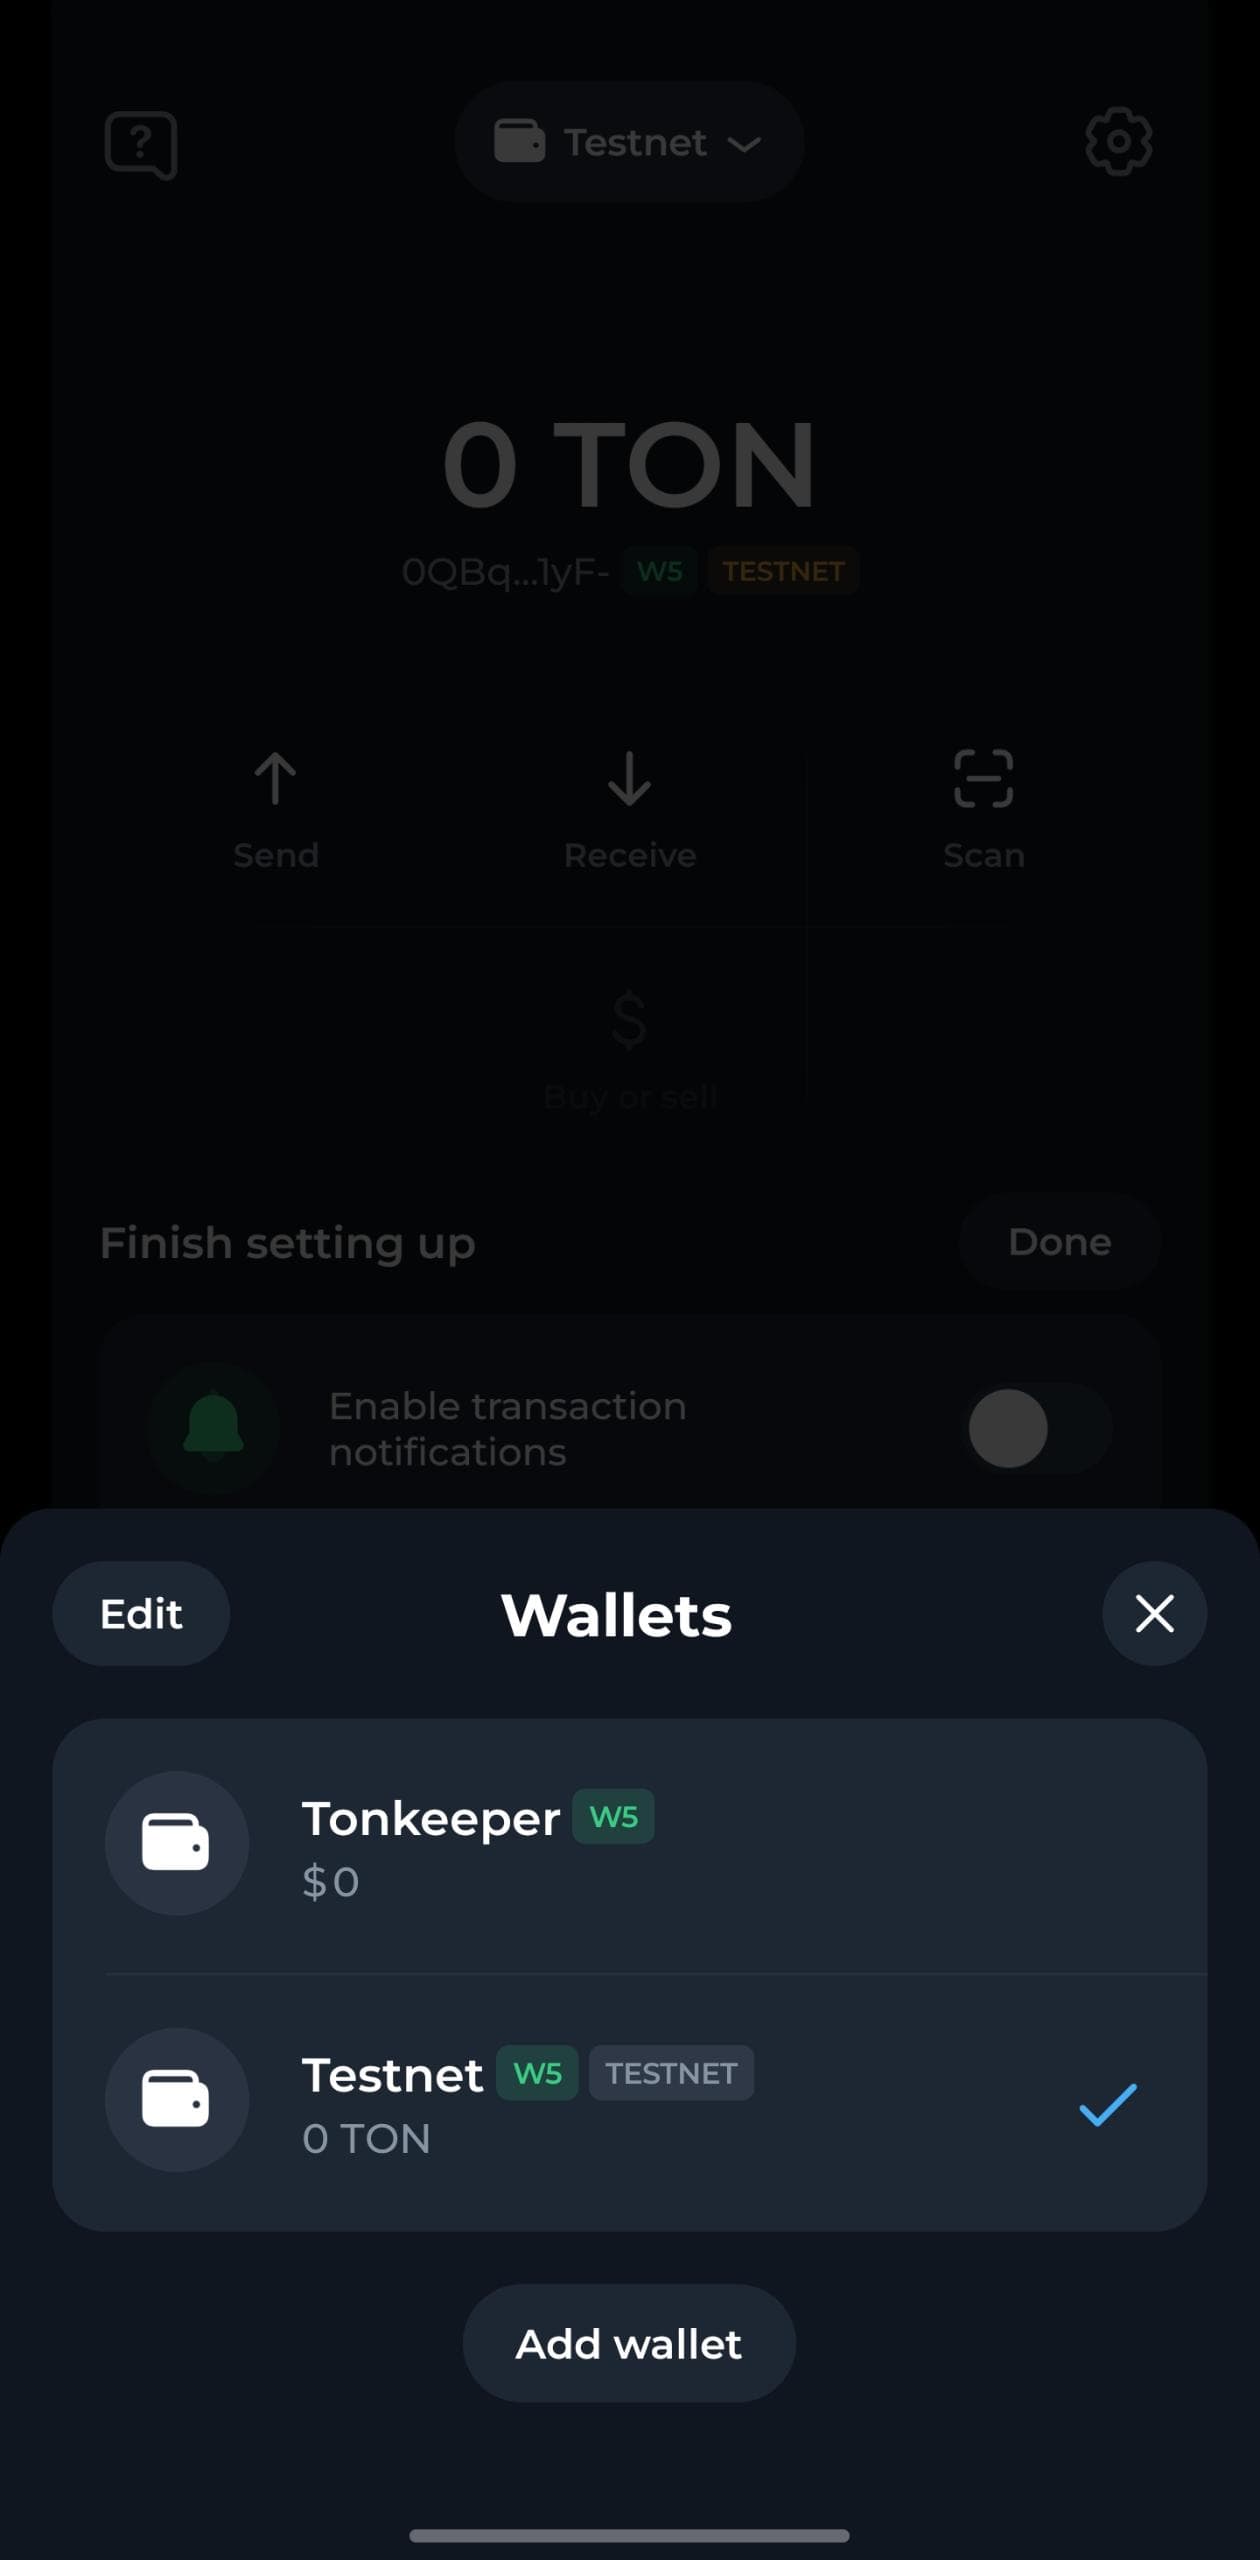
Tonkeeper requires an existing Mainnet wallet before you can create a Testnet account. The Testnet account is derived from your Mainnet wallet’s mnemonic. To add a Testnet account:- Click on your wallet name at the top of the screen and click Add wallet.
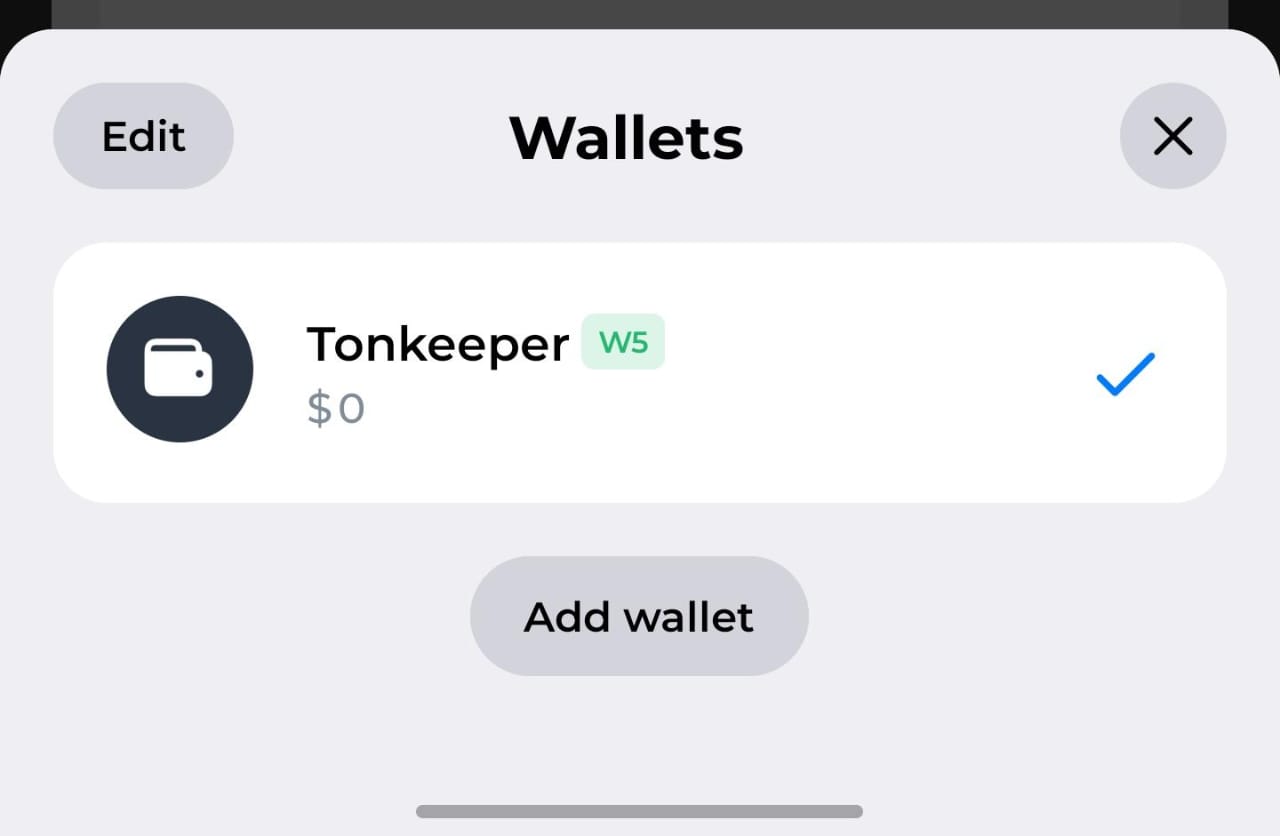
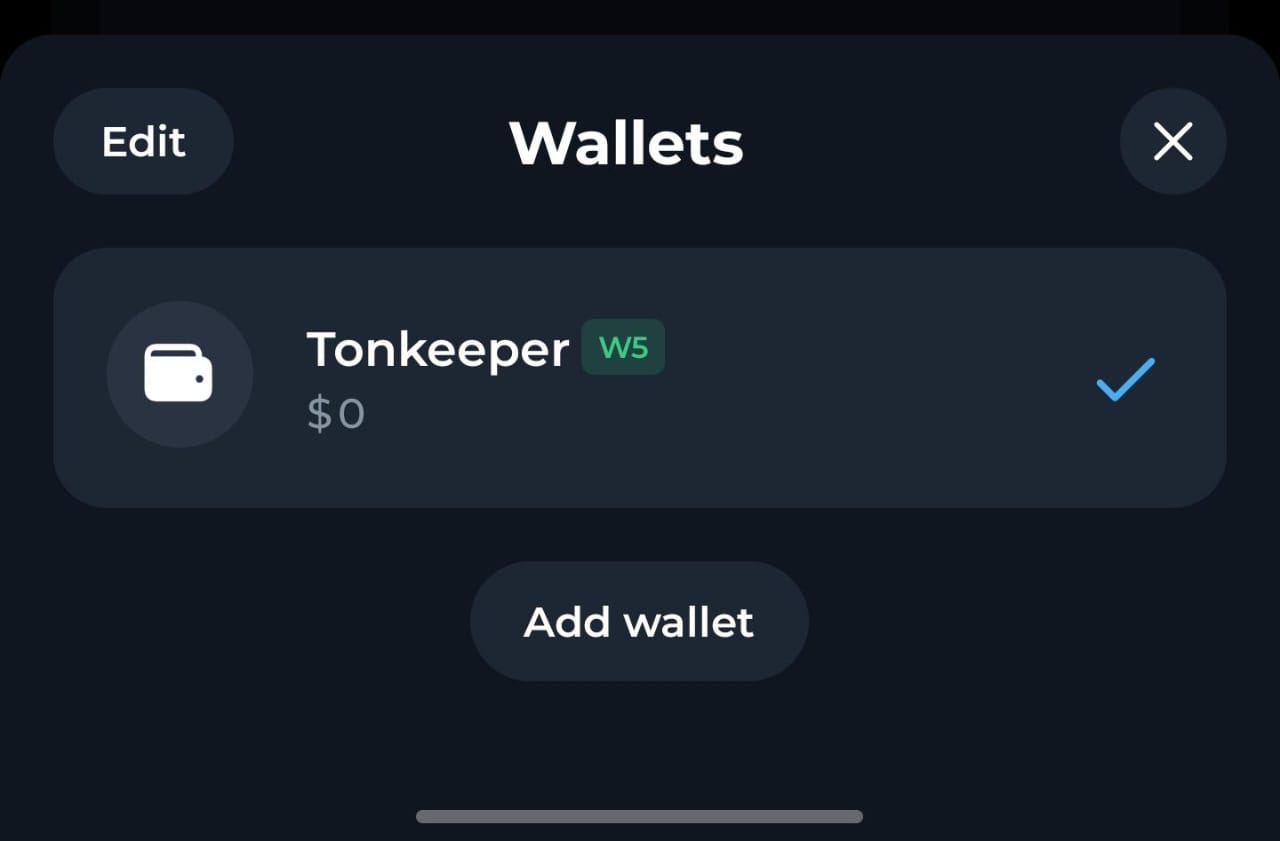
- Select Testnet account from the list.
- Enter your 24‑word recovery phrase given to you when you created the wallet and tap Continue.
- You can add a custom name or icon for your Testnet wallet.
- Enter your passcode to confirm and your Testnet wallet will be created.
Mainnet and Testnet use different address formats, your Testnet address will not be identical to your Mainnet address. See How to read and write TON addresses for details on address formats and conversion.
Deploy a wallet
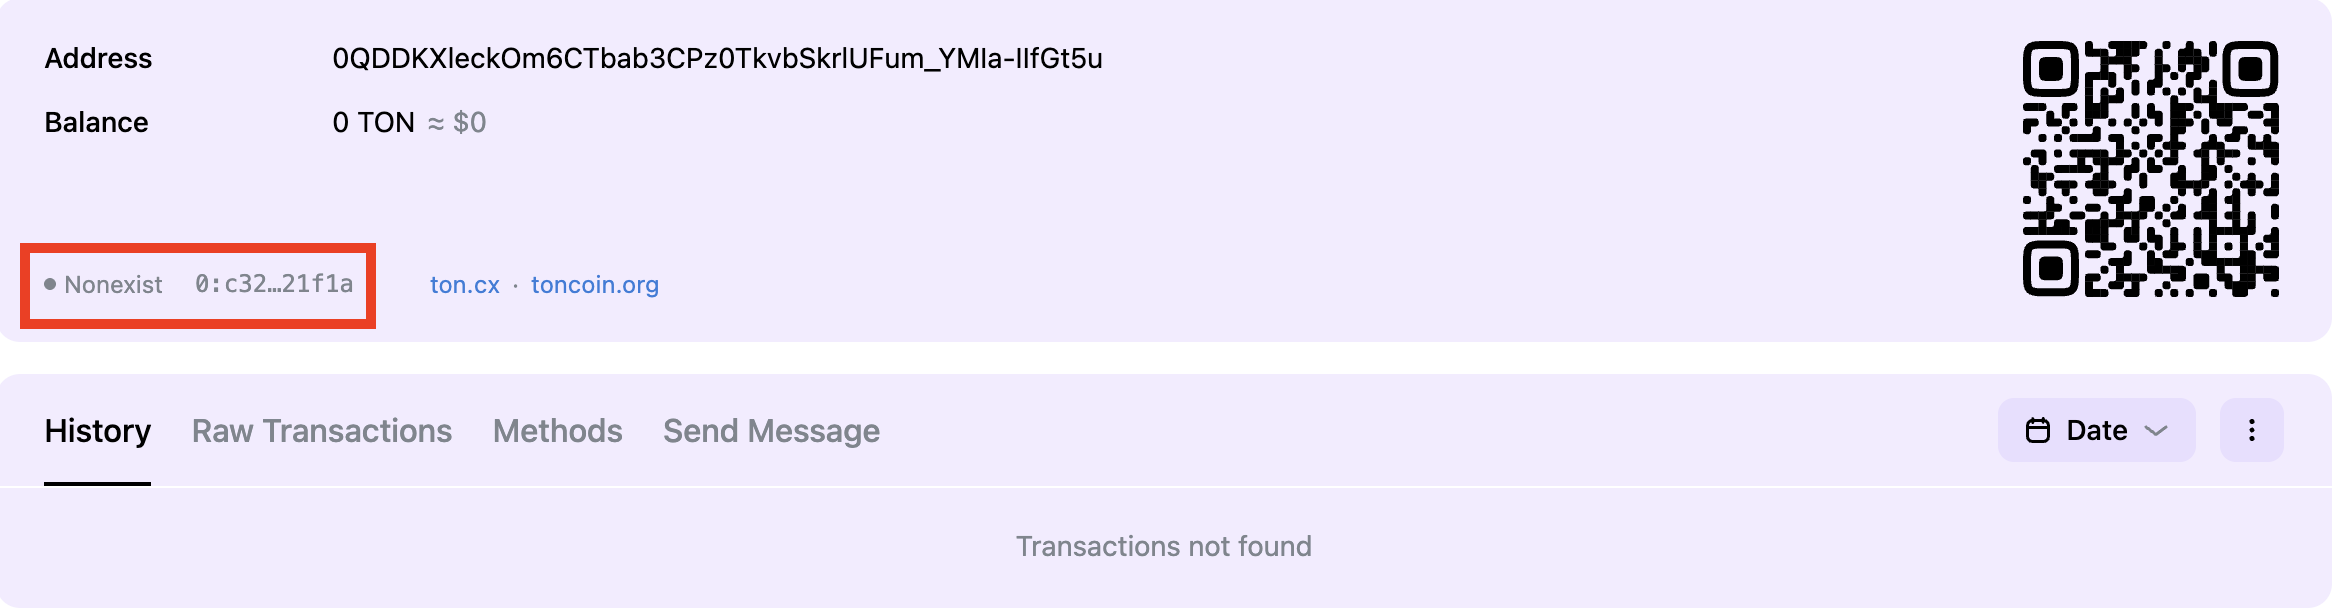
Before you can use your wallet, it must be deployed — the account state needs to become active. When you first create a wallet, it starts in the nonexist state, meaning there’s no code, data, or balance stored on-chain yet.Check your account state
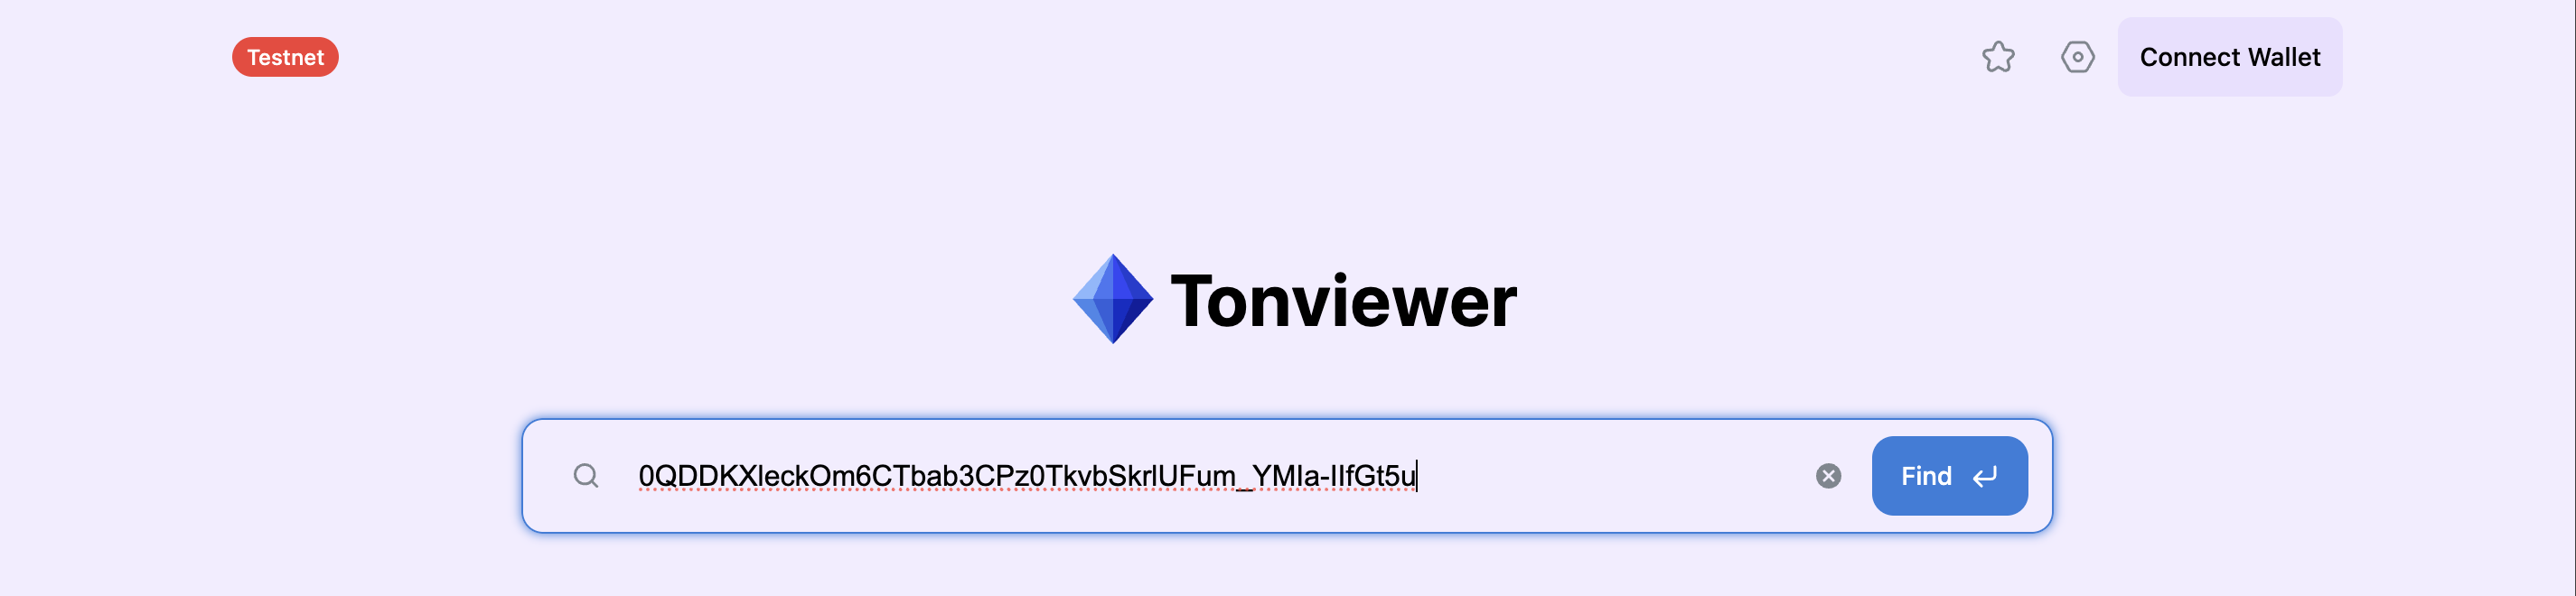
You can use the TON blockchain explorer to check your account status. For Testnet, use Tonviewer Testnet.- Paste your wallet address into the search bar.
- Your account details will show up. For a newly created wallet, you’ll see the status as nonexist, which means your wallet isn’t deployed yet.
Fund your wallet
Your wallet needs to receive funds before it can be deployed. On Testnet, you can get free Testnet Toncoins from the TON Testnet Faucet. Once you receive funds, your wallet moves to the uninit state. This means your account has a balance, but the smart contract isn’t deployed yet.

Send your first transaction
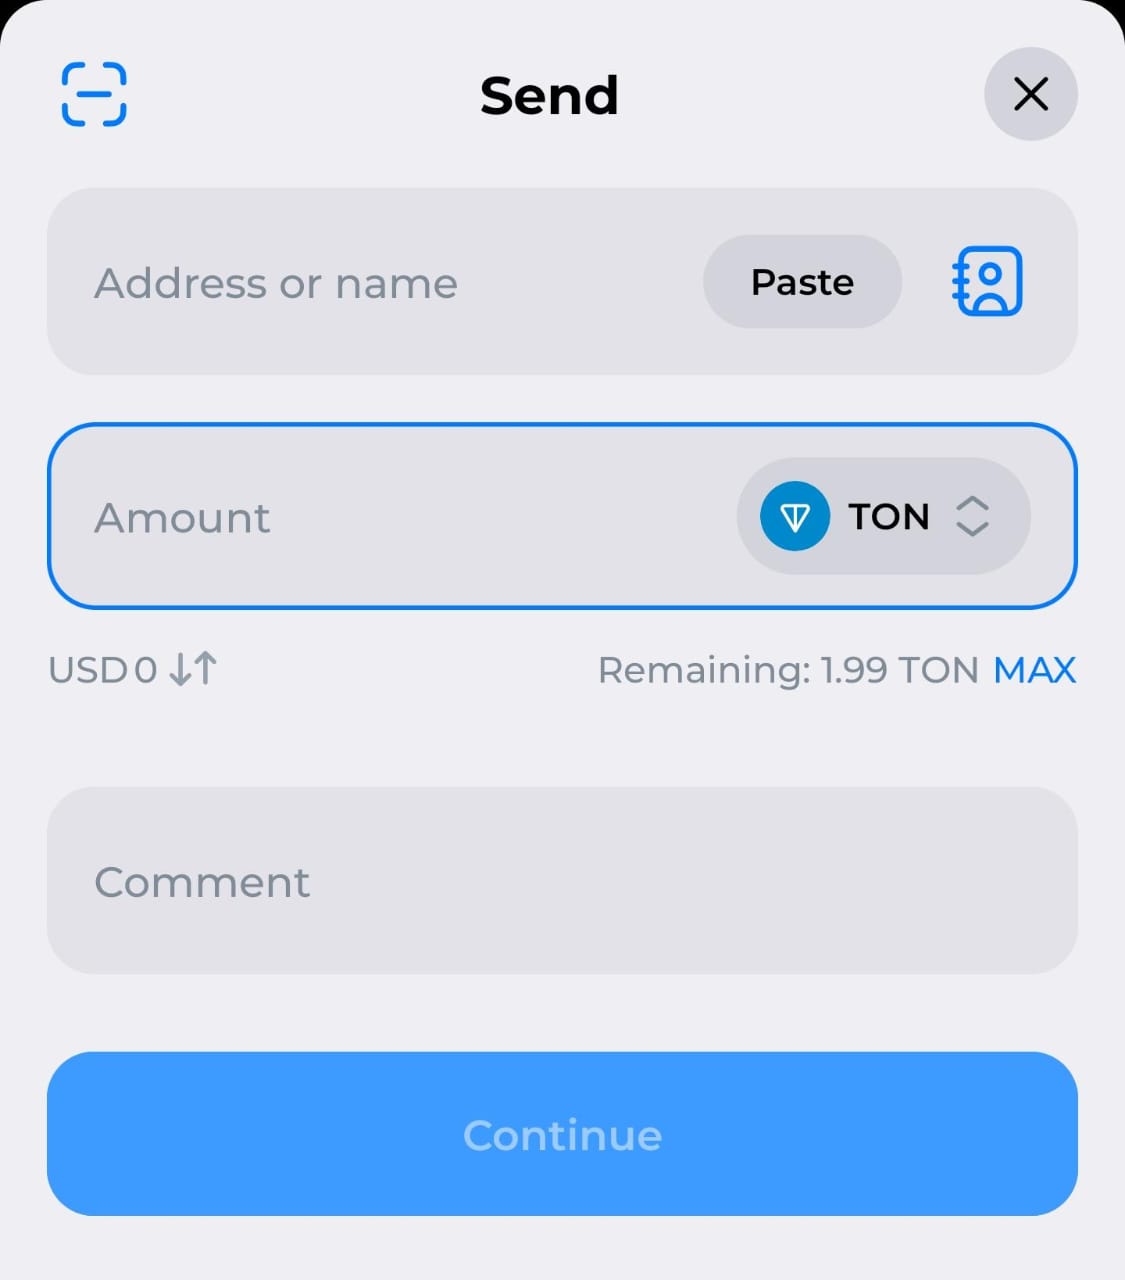
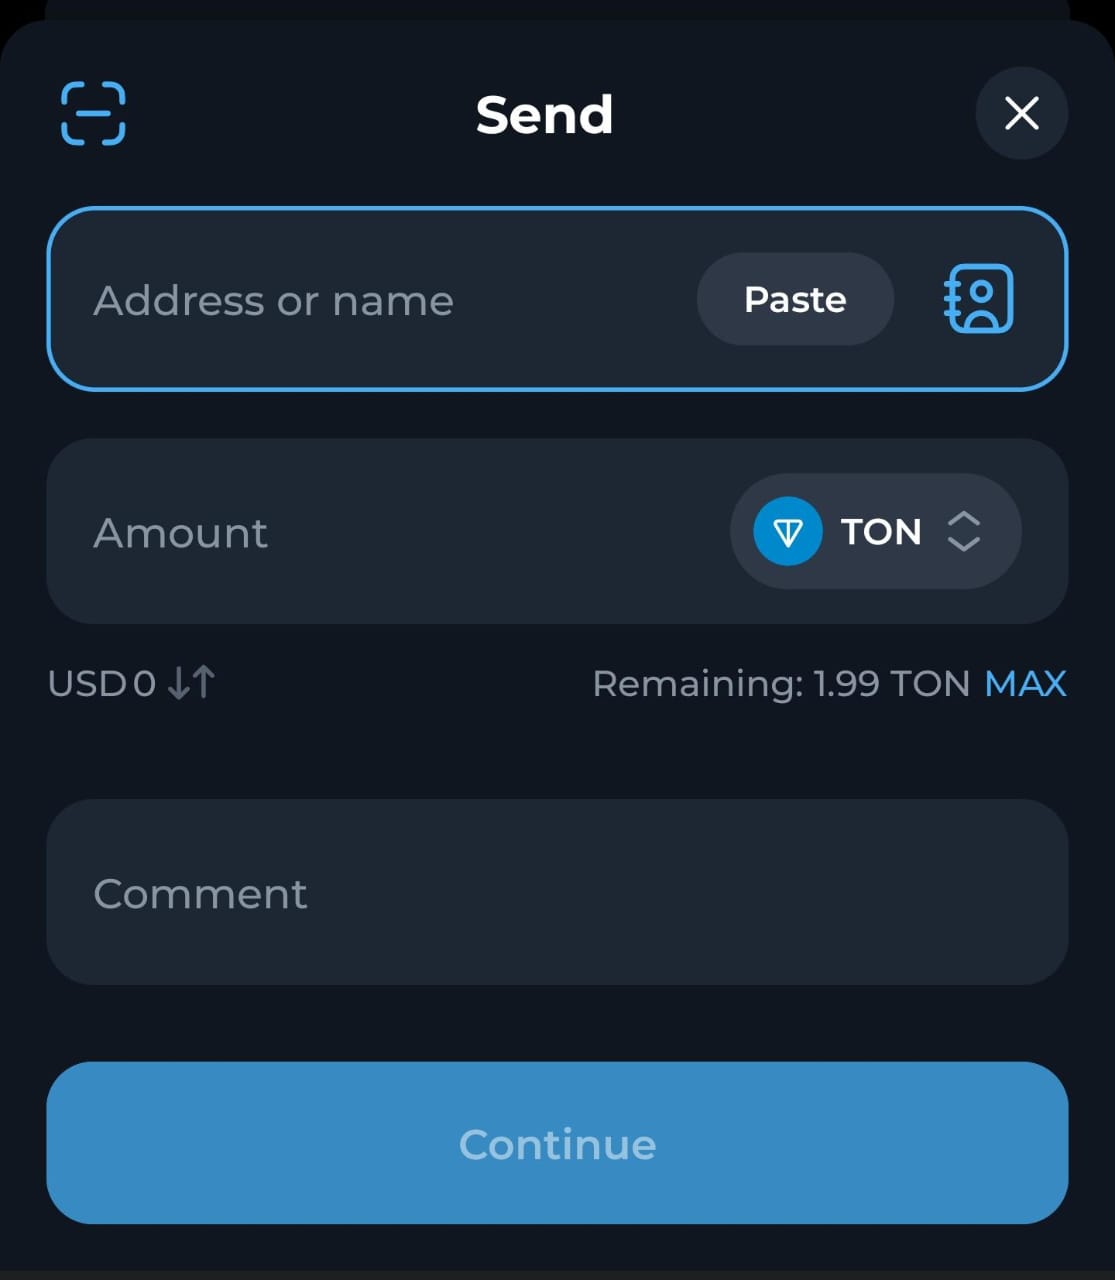
Now that you have TON in your account, you can deploy the wallet. Deployment happens when your wallet processes its first transaction. For this example, we’ll send TON to your own account on Testnet so you can see the transaction and wallet deployment happen on-chain. To send TON to your own account:- Click Send.
- Enter your own wallet address as the recipient.
- Enter the amount you want to send and click Continue.
- Review the transaction details and click Confirm.
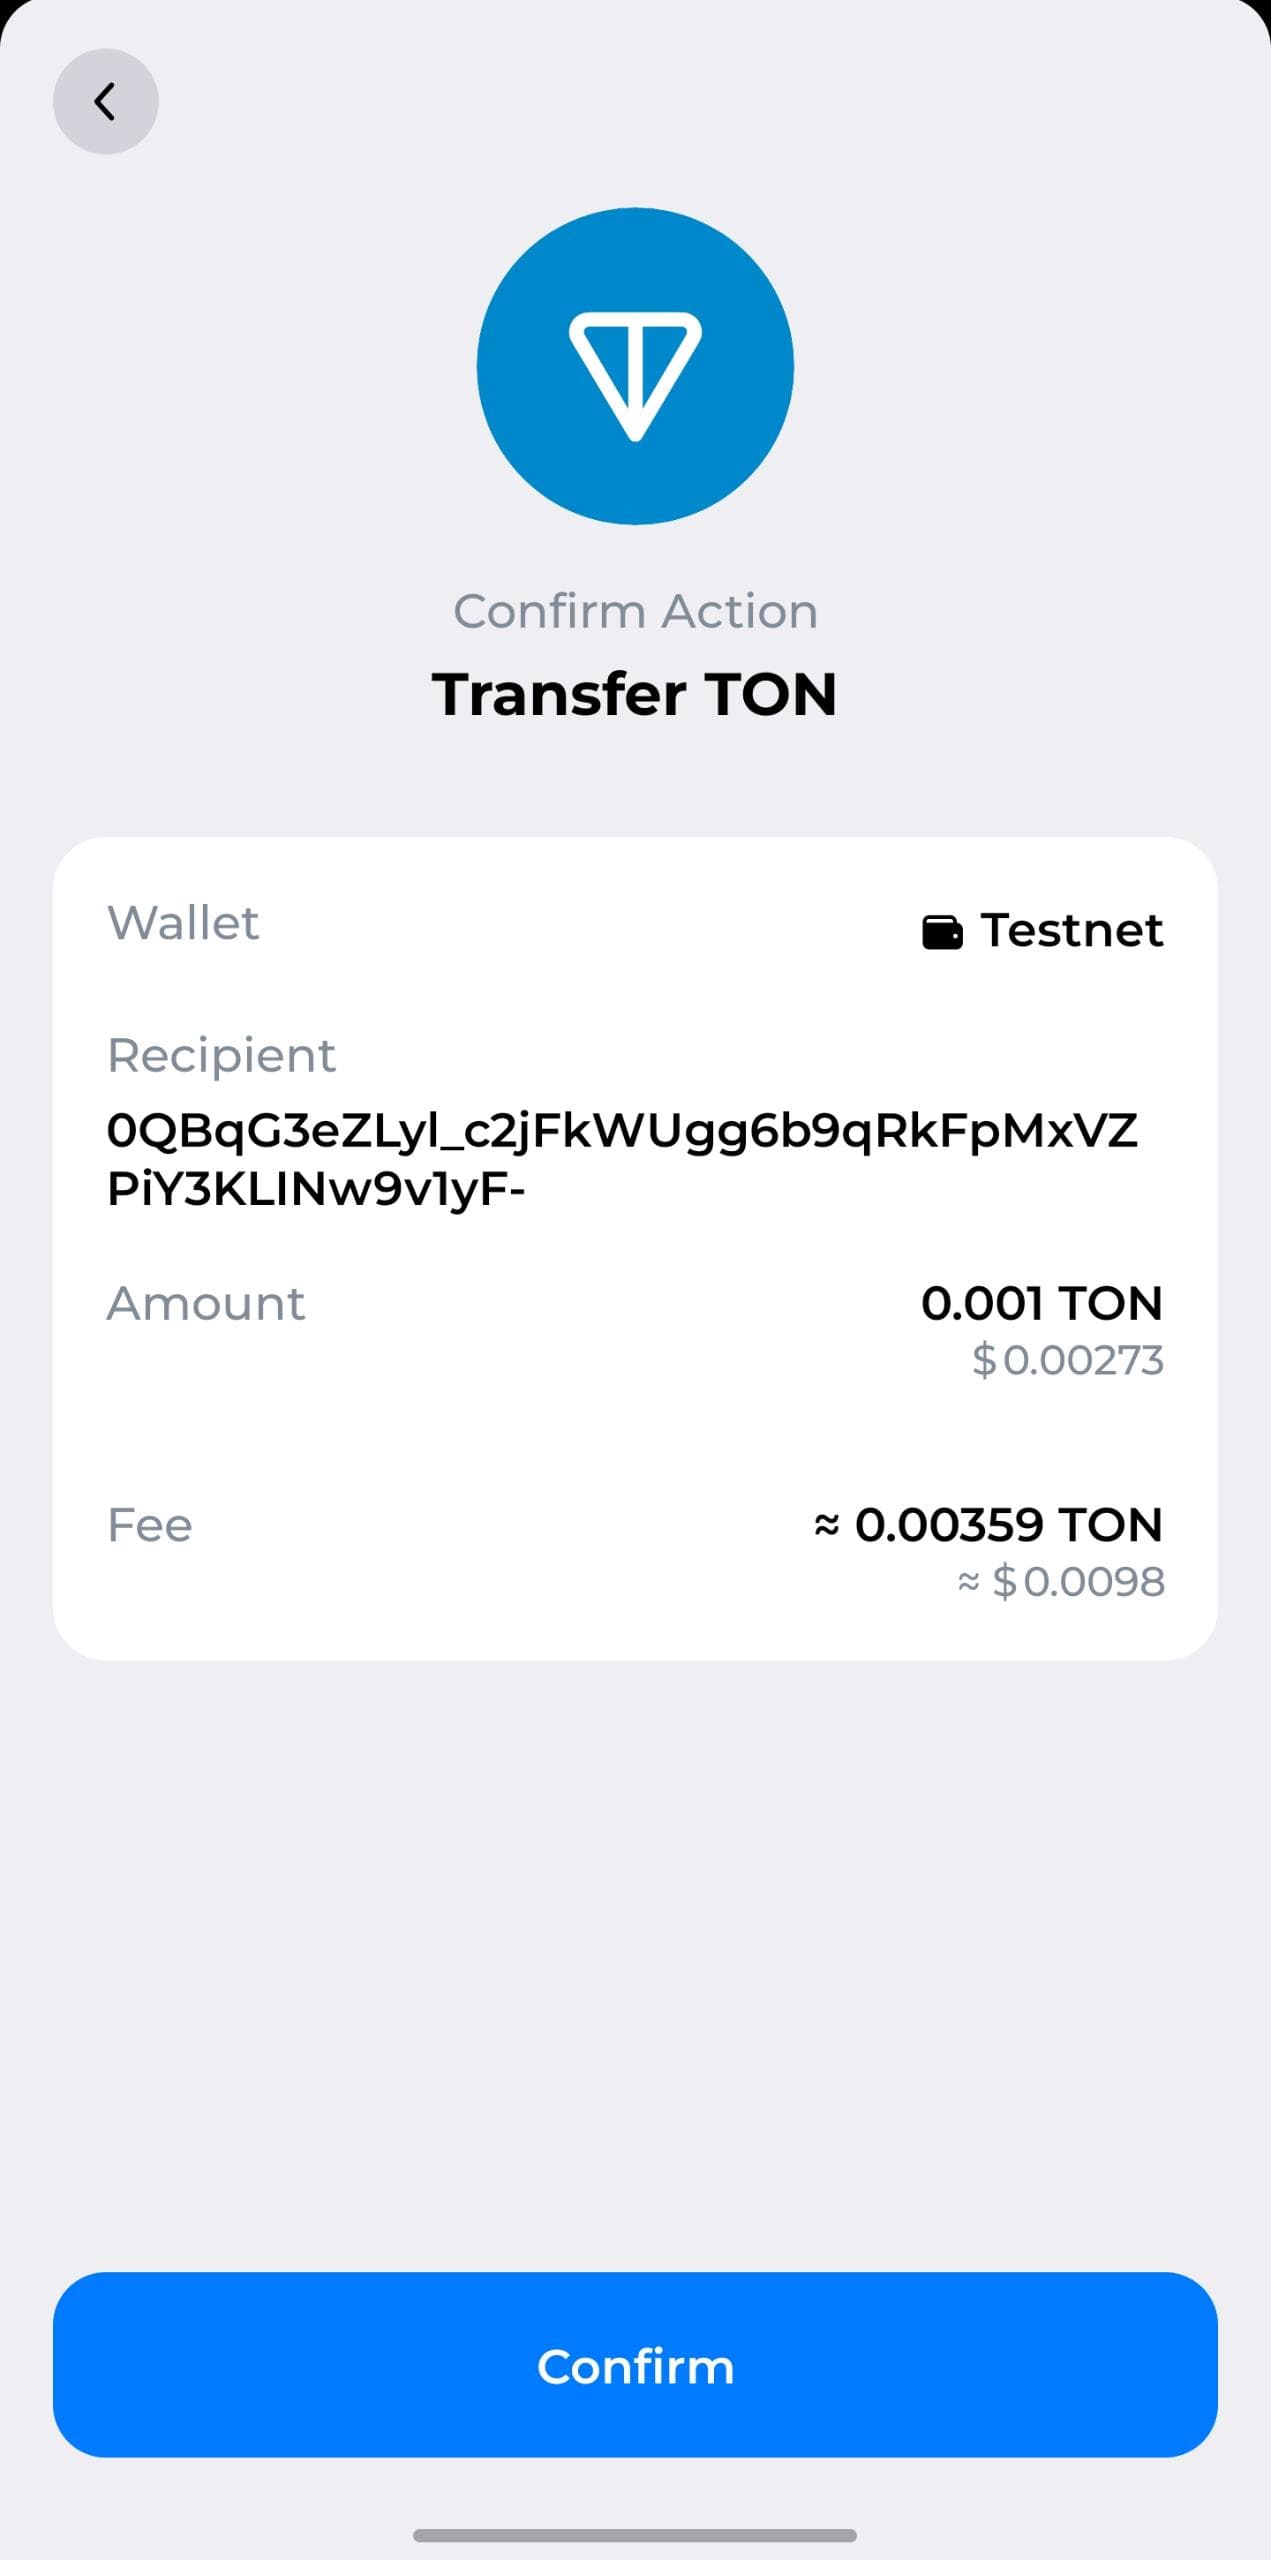
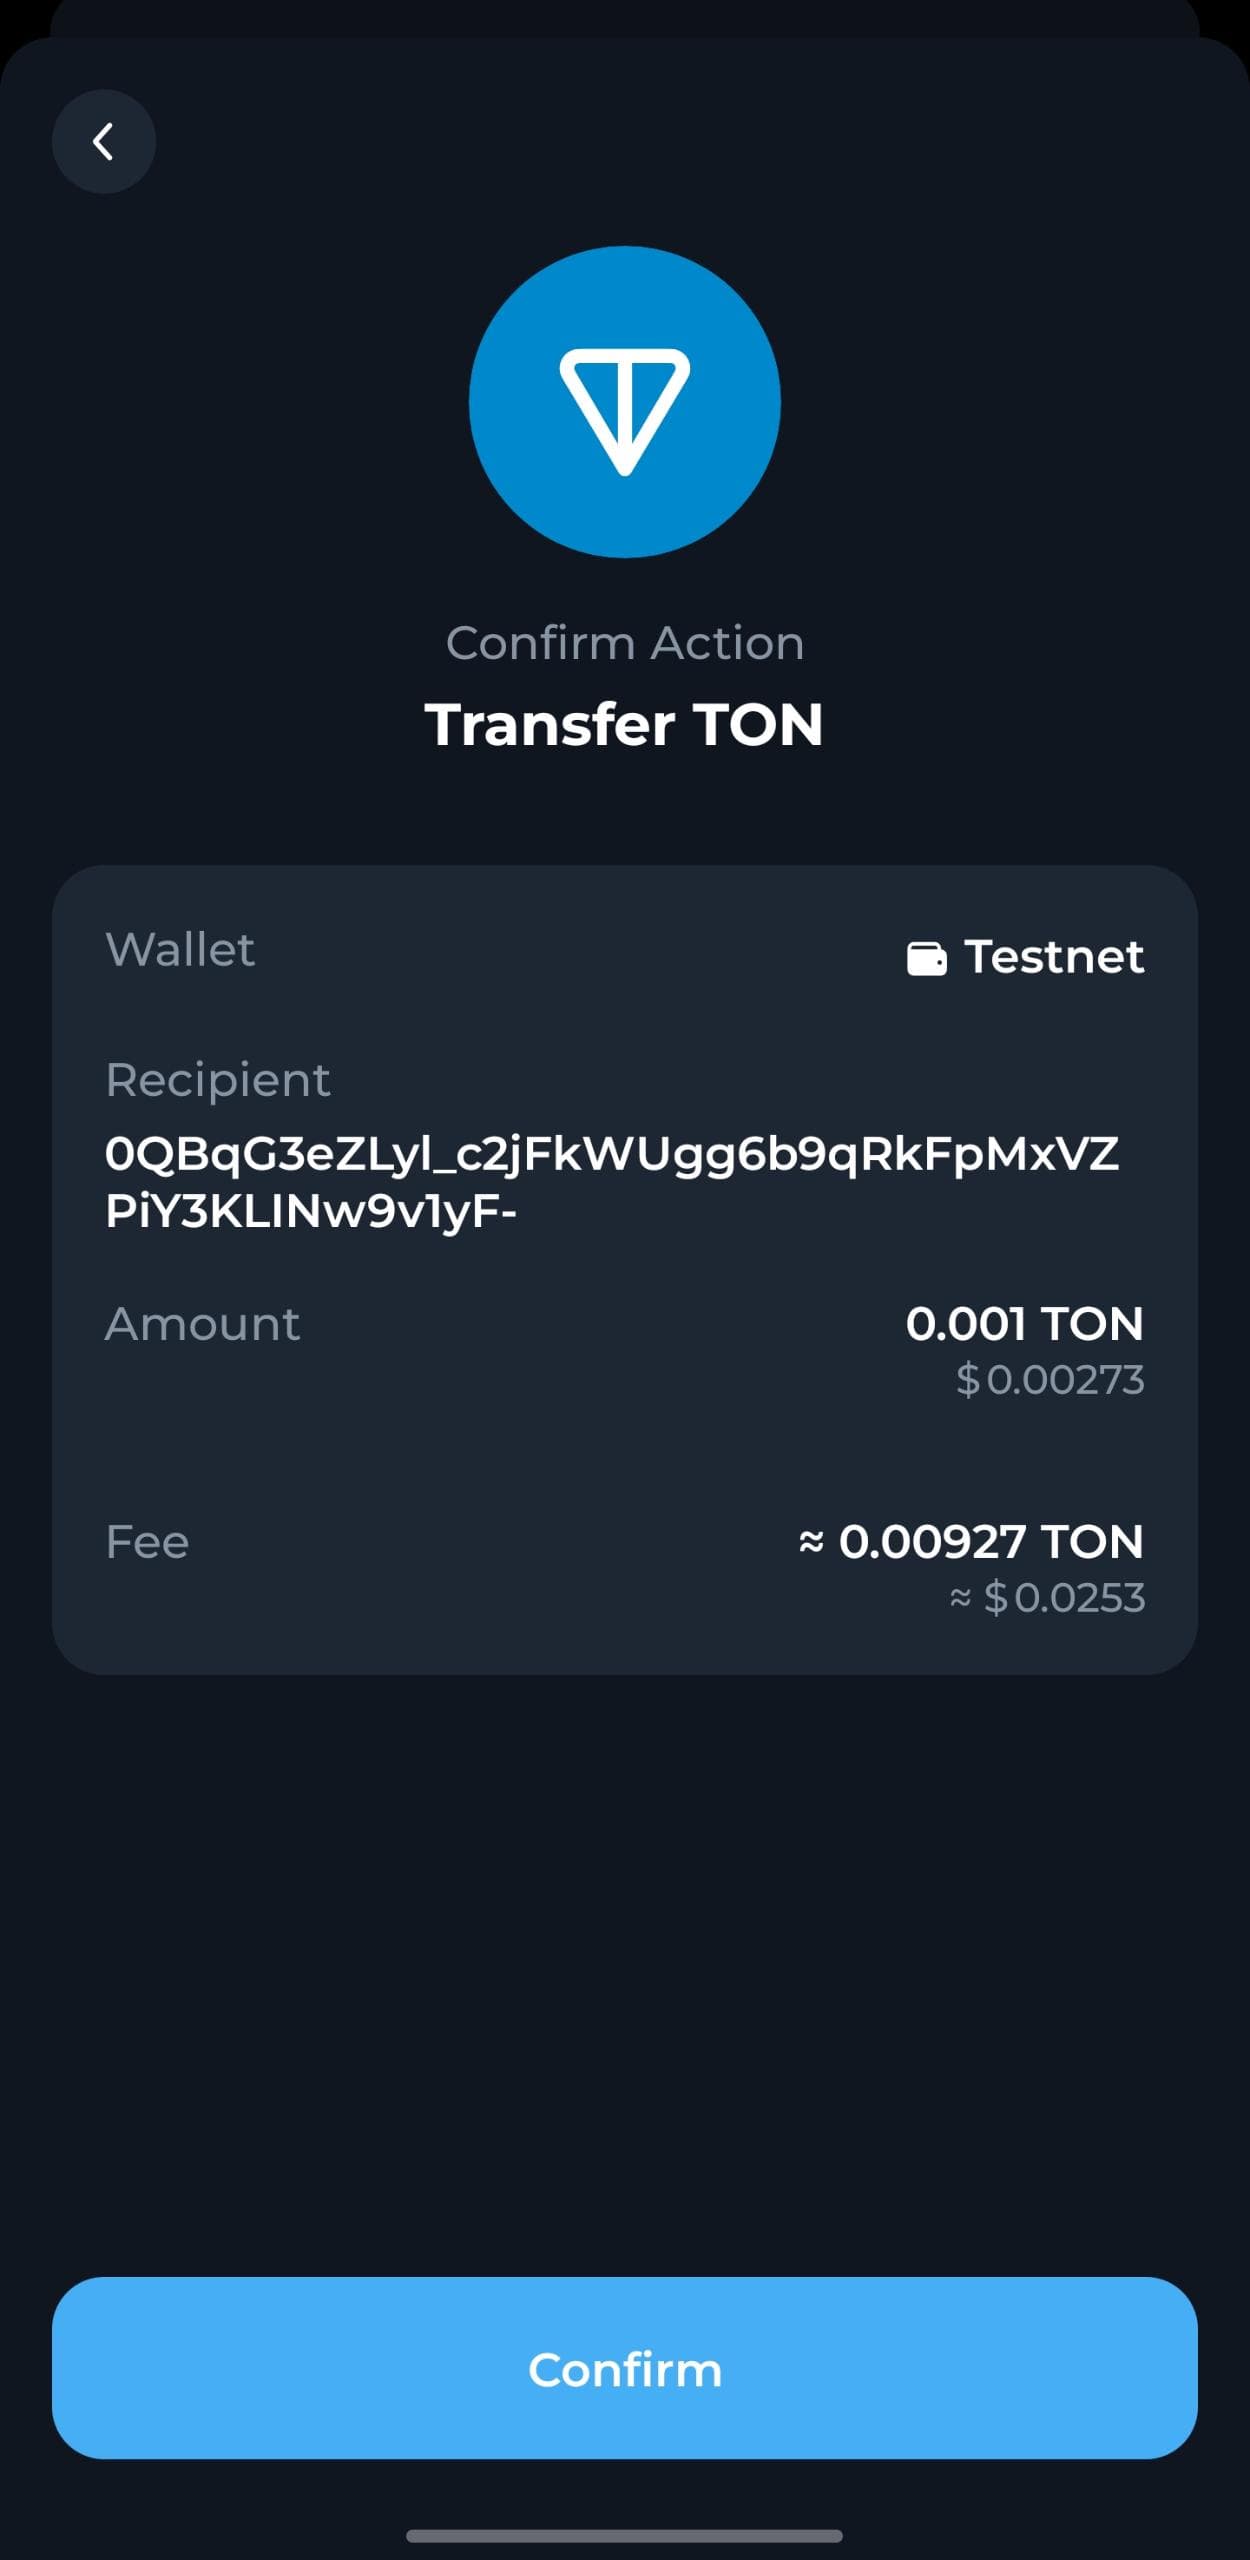
- Enter your PIN to approve the transanction request. You’ll see a confirmation screen once the transaction is sent.

 You’ll also see other fields like your address, current TON balance, and contract type showing your wallet version. To learn more about wallet contract types, see the Wallets history.